
Growing your own plants from seeds can be a fun and rewarding experience. It provides an opportunity to learn about plant growth and development. It allows you to save money, grow unique varieties, and have greater control over the quality of your crops. Whether you have limited outdoor space or enjoy nurturing plants from their earliest stages, seed starting is a great way to get started. Seed starting for beginners can seem daunting; I know it did for me when I first started. It's not as complicated as you think, and I will be here to walk you through each step!
Why Seed Starting is a Great Way to Grow Plants
Starting your plants from seed allows you to control the entire growing process, from start to finish. You can choose the specific varieties of heirloom plants you want to grow and know precisely what went into their cultivation. Picking out your own garden seeds is fun and you can get varieties of fruits and vegetables that you can't buy in the grocery store.
This is particularly important if you are concerned about pesticides or other harmful chemicals in commercial farming. Additionally, starting your own seeds saves money in the long run.
While it may cost more upfront for supplies such as containers and soil mixtures, these can be reused year after year. The savings come when compared with purchasing mature seedlings or buying produce at a grocery store.
Starting seeds indoors protects them from outdoor elements that could harm young seedlings, such as wind or pests. This gives them time to develop strong roots before planting outdoors in ideal conditions.
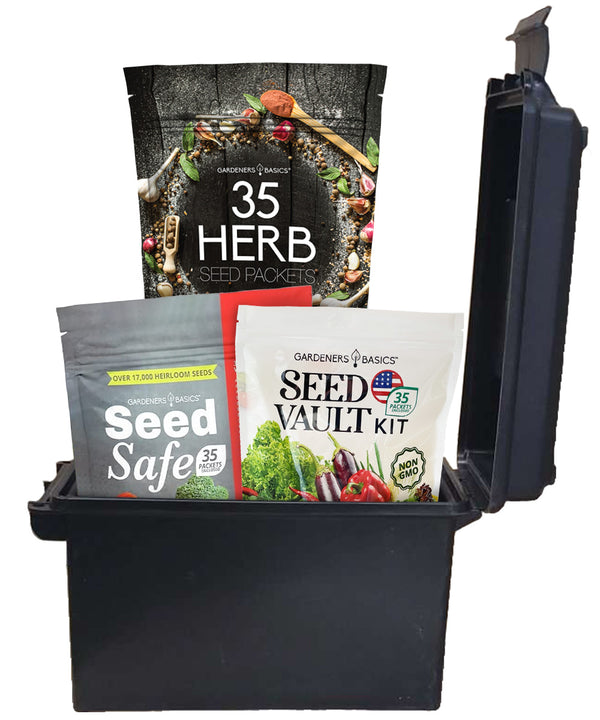
Heirloom Seeds Collection | 3-in-1 Seed Vault, Survival Seed, and Herbs 105 Varieties
$82.95
$149.95
Heirloom Seeds Collection - Ultimate 3-in-1 Seed Vault, Survival Seed, and Herb Variety Packs for a Thriving Garden Discover the Heirloom Seeds Collection, the perfect combination of our Seed Vault Kit, Seed Safe Survival Seed Kit, and Popular Herb Seeds… read more
A Brief Overview of the Process
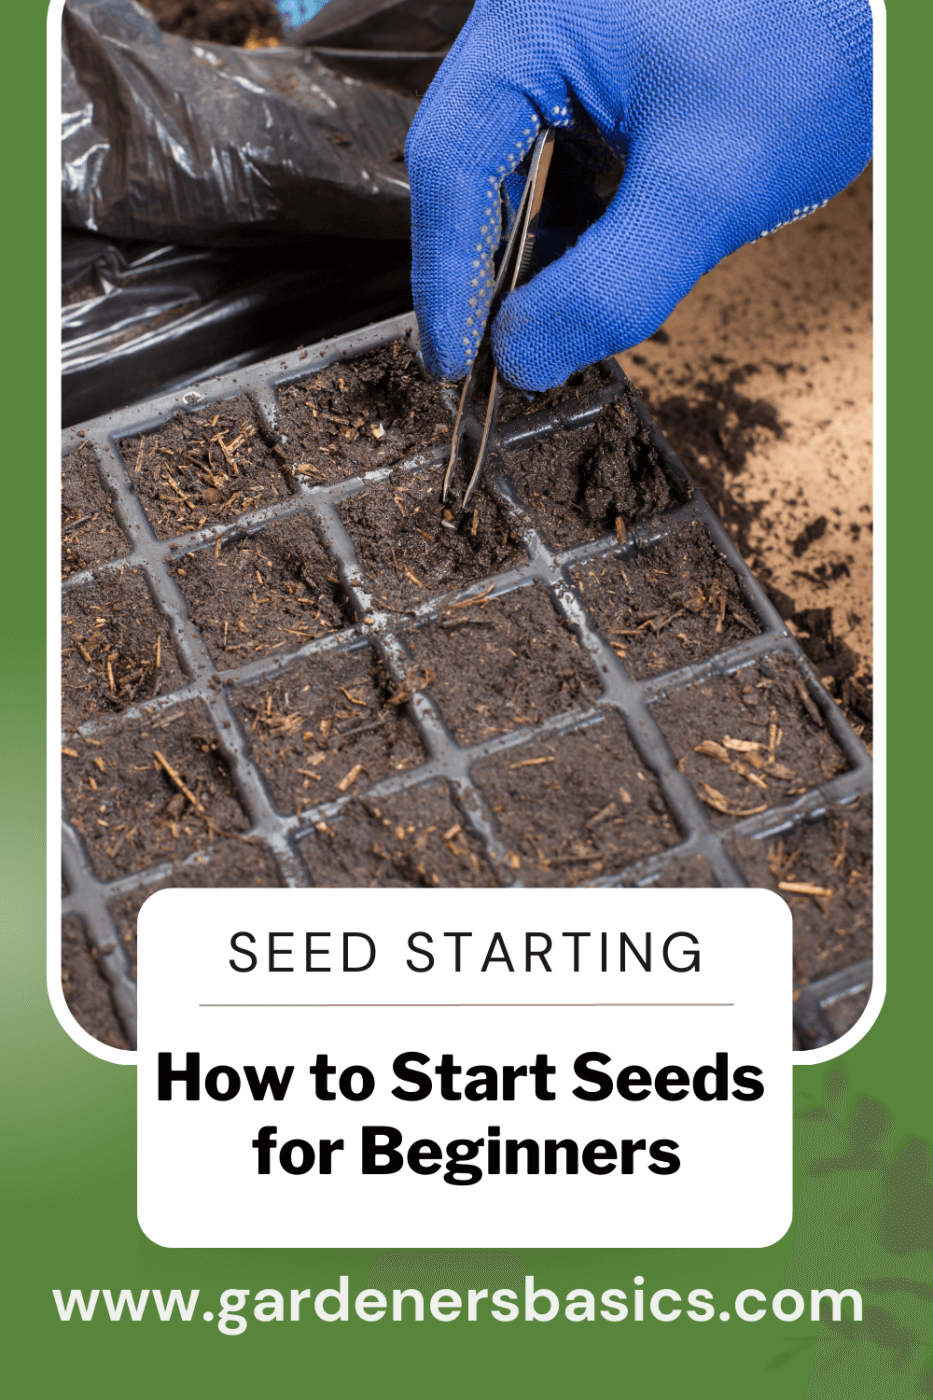
Seed starting requires essential tools and supplies such as containers, soil mixtures, individual seed packets, and water and light sources. After selecting appropriate types of containers (e.g., recycled materials like eggshells or plastic cups), filling them with potting soil mixture comes next, and planting seeds within them at an appropriate depth (usually one-to-two times their diameter). After planting, follow up by watering them using either bottom watering techniques by placing the container on top of water-filled trays or top watering using a gentle spray nozzle.
Ensure they receive adequate light by placing them in a south-facing window or under grow lights. As the plants mature, it is essential to fertilize the seedlings and gradually prepare them for outdoor conditions.
Now that you understand why seed starting is a great way to grow plants and the basic process involved, we can dive into greater detail about each step. In the following sections, we will discuss choosing the right seeds for your location and growing conditions and selecting containers and soil mixtures in greater detail.
Getting Started
Choosing the Right Seeds for Your Location and Growing Conditions
Regarding seed selection, it's essential to remember your location and growing conditions. You want to choose seeds suitable for your climate and soil type and the amount of sunlight and water your plants will receive.
For example, if you live in a hot, arid climate, you'll want to select drought-tolerant seeds such as succulents or cacti. On the other hand, if you're growing plants indoors with artificial lighting, you may want to choose seeds that thrive in low-light conditions, like ferns or snake plants.
Another important factor to consider is whether you're growing annuals or perennials. Annual plants complete their life cycle in one year and are perfect for filling gaps in your garden or adding pops of color.
Perennial plants come back year after year and require less maintenance once established. Consider plant size, bloom time, and growth habits when selecting seeds.
Selecting Containers and Soil Mixtures
Once you've selected your garden seeds, it's time to choose the proper containers and soil mixtures. Containers come in all shapes and sizes - from traditional clay pots to recycled containers like old yogurt cups or egg cartons - so feel free to get creative!
Just make sure that whatever container you choose has adequate drainage holes. There are a few things to keep in mind when it comes to soil mixtures.
You want a well-draining mixture that won't become waterlogged but retains enough moisture for healthy plant growth. Avoid using garden soil that can harbor diseases and pests; opt for a high-quality potting mix specifically formulated for seed starting.
Gathering Necessary Tools and Supplies
Seed starting requires minimal tools, but there are a few supplies that will make the process easier. You'll need a watering can or spray bottle, labels for identifying your plants (all our seed kits and vaults come with plant markers), and a seed starting heat mat to regulate soil temperature.
Optional tools include a seed starting tray, which helps keep everything organized, and a humidity dome to retain moisture.
DIY Containers and Soil Mixtures
You can create containers and soil mixtures if you're on a budget or feeling crafty. For containers, consider upcycling items such as tin cans or plastic bottles.
To make your own soil mix, combine equal parts peat moss (or coconut coir), vermiculite (or perlite), and compost (or worm castings). This mixture is lightweight and nutrient-rich - perfect for growing healthy seedlings.
Seed Saving
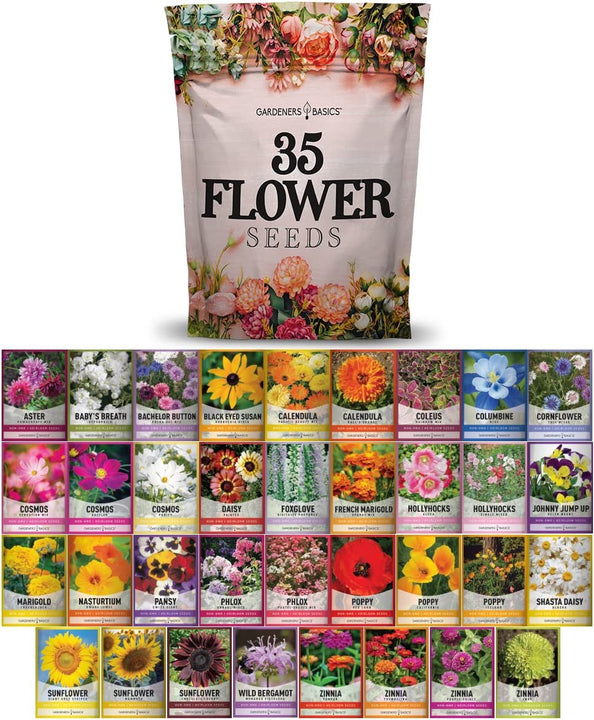
Wildflower, Perennial, & Annual Flower Seed Kit | 35 Variety Pack
$29.95
$49.95
35 Flower Seeds Variety Pack – Heirloom, Non-Hybrid, Non-GMO, Open-Pollinated – Perfect for Pollinator-Friendly Gardens Transform your garden with our 35 Flower Seeds Variety Pack, offering a stunning and diverse selection of heirloom, non-hybrid, and non-GMO seeds. Each variety in… read more
Preparing Seeds for Planting
Soaking Seeds
Soaking seeds is a great way to give them a head start in germination. It works exceptionally well for larger seeds like beans or peas, with a hard outer shell that can slow down water absorption. Simply place your seeds in a bowl and cover them with warm water to soak them.
Let them sit for 12-24 hours, then drain off any excess water before planting. This will help the seeds absorb moisture more quickly and improve their chances of sprouting successfully.
Scarifying Seeds
Some types of seeds have a tough outer coating that must be broken down before germinating. This process is called scarification and can be done in several ways, depending on the type of seed you're working with.
For example, you can use sandpaper or a nail file to gently scratch the surface of hard-coated seeds like morning glories or sweet peas. Alternatively, you can use boiling water to soften the coating on other types of seeds, such as lupines or nasturtiums.
Stratifying Seeds
Stratification is another technique used to promote germination in certain seeds – particularly those that require exposure to cold temperatures to break dormancy. First, moisten your seeds by placing them in damp paper towels or peat moss in a plastic baggie to stratify them.
Then put the baggie in the fridge for several weeks (usually 2-4 weeks is sufficient). This will simulate winter conditions and trick the seed into thinking it has gone through a natural winter cycle.
Checking Seed Viability
Before investing time and resources into starting seeds indoors, it's important to ensure that they are viable – meaning they can germinate successfully. One way to check seed viability is to perform a simple germination test. To do this, place several seeds on a damp paper towel, and fold them in a plastic baggie.
Keep the baggie in a warm, bright location and check after several days to see how many seeds have sprouted. If only a few have germinated, you may consider purchasing fresh seeds or adjusting your planting technique.
A Word About Seed Saving
If you're interested in seed starting, you may also be interested in seed saving – which involves collecting and storing seeds from your garden for future use. However, not all types of plants are suitable for seed saving – and even those that may require special techniques for successful harvesting and storage. Before embarking on a seed-saving venture, research the specific requirements of each plant species you plan to work with – or consider attending a local gardening workshop or class.

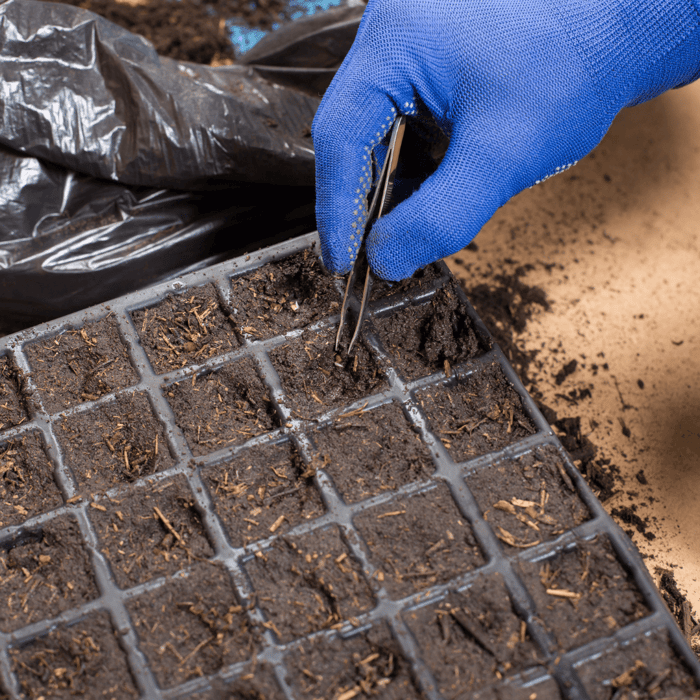
Planting Seeds
Sowing Depth and Spacing Guidelines
Sowing depth is one of the most important things to consider when planting seeds. Different types of seeds require different planting depths. A general rule of thumb is to plant seeds at a depth three times their diameter.
For example, if your seed is ¼ inch in diameter, you should plant it ¾ inch deep. Spacing guidelines are also important to follow when planting seeds.
Giving each seed enough space to grow and develop properly is crucial. If they're too crowded, competition for resources like water and nutrients will lead to stunted growth.
Watering Techniques
After you've planted your seeds, it's important to properly water them. Overwatering can drown the seeds or cause them to rot, while underwatering can prevent germination altogether. The key is to keep the soil consistently moist but not soaking wet.
One way to ensure proper watering is using a spray bottle or mister instead of pouring water directly onto the soil. This will help prevent over-saturation and give you more control over the amount of water your plants receive.
Another technique is bottom watering, which involves placing your containers into a tray filled with about an inch of water and letting them soak up moisture from below. This method can benefit larger containers with trouble retaining moisture evenly throughout.
It's also important to pay attention to temperature when watering your seeds. Cold water can shock young seedlings, so using room temperature or slightly warm water is best.
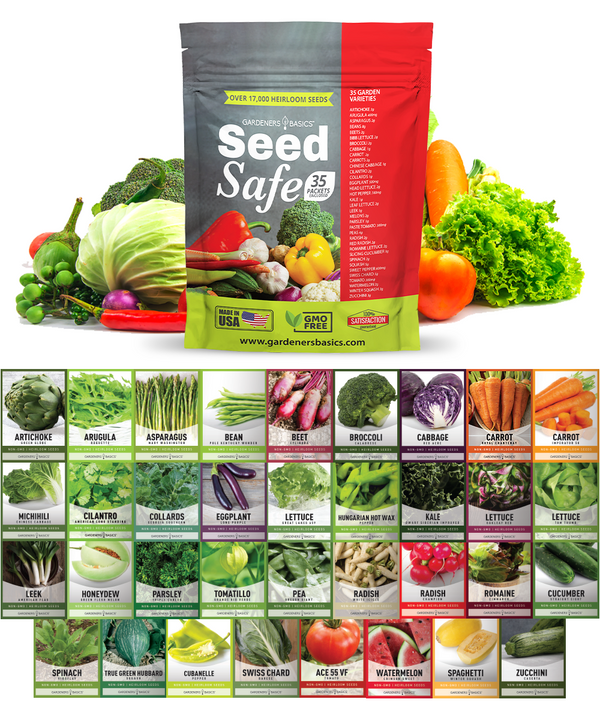
Seed Safe Survival Seed Kit - 35 Variety Pack
$29.95
$49.95
Seed Safe Survival Seed Kit: The Ultimate Heirloom Collection for Self-Sufficient Gardening Introducing the Seed Safe - 35 Varieties of Heirloom Vegetable, Herb, and Fruit Seeds, the ultimate solution for gardeners who want to secure a bountiful future harvest. This… read more
Experiment with Different Techniques
Remember that every gardener has their preferred techniques for planting and watering seeds – don't be afraid to experiment and find what works best for you! Just make sure you're giving your plants plenty of TLC and paying attention to their individual needs, and you'll soon be rewarded with strong, healthy seedlings ready for transplanting.
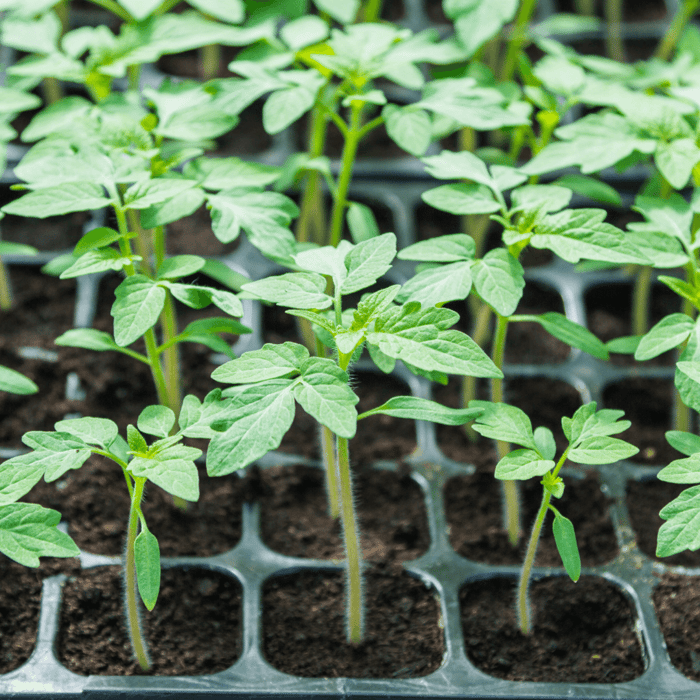
Caring for Seedlings
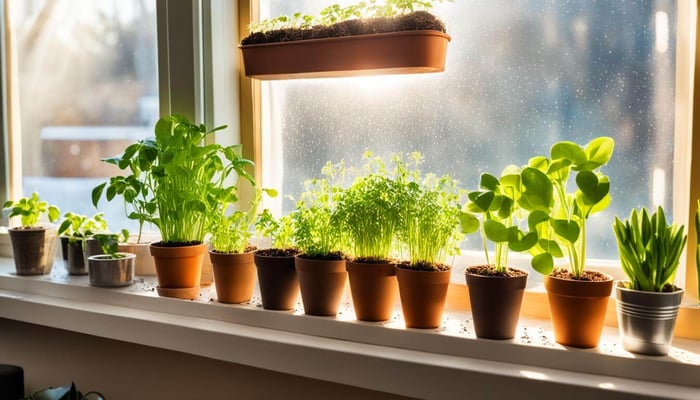
Providing Adequate Light
Once your seeds have germinated, providing enough light is essential to grow into vigorous, healthy seedlings. The type of light you use will depend on the plants you're growing. Most seedlings need 12-16 hours of bright, direct sunlight or artificial light daily.
If you'reusing a windowsill, ensure your seedlings get plenty of natural light by rotating them regularly. If you're using artificial lights, position them a few inches above the plants and adjust the height as they grow.
Controlling Temperature and Humidity
Temperature and humidity are also important factors in caring for seedlings. Keep your seedlings in a warm spot that stays between 60-75°F. Fluctuations in temperature can cause stress to the plants and slow their growth.
Check your soil moisture regularly to ensure it's not too dry or too wet. Humidity is also critical during this stage of growth.
Seedlings need high humidity to thrive, usually between 50-70%. Cover your containers with plastic wrap or place them in a clear plastic bag to maintain humidity levels until they start growing.
Fertilizing Tips
Your seedlings will eventually outgrow the nutrients available in their starting soil mixtures – generally within 4-6 weeks after germination depending on plant type – and will require supplemental feeding through fertilization. There are different types of fertilizers for different kinds of plants. Still, the most commonly used are water-soluble ones containing macronutrients (N-P-K) which can be added to water and administered directly into soil mixture around root systems using regular watering cans or sprayers. Before deciding how much fertilizer to give your young plants, consider their age, making sure not to over-fertilize, which can lead to root burning and stunted growth.
Start with a weaker dilution and gradually increase the frequency and strength until you reach the maximum recommended dose capacity. In addition, organic fertilizers such as worm castings, fish emulsions, or seaweed extracts are also popular options for home gardeners.
They have the added benefit of providing trace minerals not found in synthetic fertilizers while at the same time promoting the microbial health of the soil. Overall, caring for seedlings takes patience as well as dedication but results in successful plant growth.
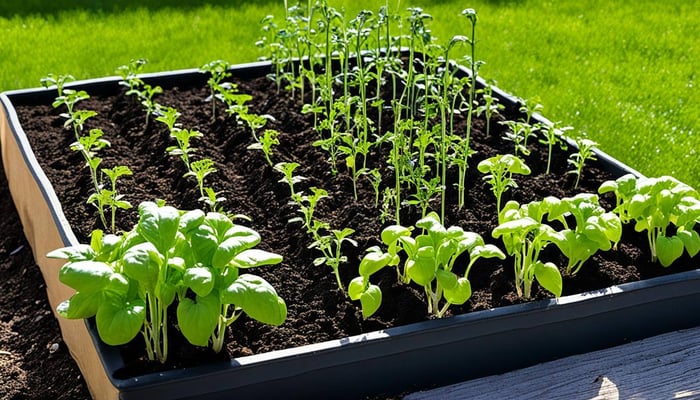
Transplanting Seedlings
Timing Considerations
Once your seedlings have grown to a specific size, they must be transplanted into larger containers or the garden. Timing is important when it comes to transplanting because you don't want to do it too early or too late. If you transplant seedlings too early, they may not have developed strong enough roots and could die.
If you transplant them too late, they may become root-bound in their current container and have stunted growth. Generally, wait until your seedlings have at least two sets of true leaves before transplanting them.
This usually takes about 4-6 weeks after germination. However, different plants grow at different rates, so it's important to research the specific plant you're growing for more precise timing guidance.
Hardening Off Before Planting in the Garden
Before planting your seedlings in the garden, hardening them off first is essential. This means gradually acclimating them to the outdoor environment and weather conditions. Seedlings grown indoors are not used to direct sunlight or wind and can be shocked by sudden exposure to these elements.
Start by placing your seedlings outside in a sheltered spot for a few hours each day, gradually increasing the time spent outside over a week or two until they are outside all day. Observe for any signs of stress, like wilting or yellowing leaves, and adjust accordingly.
It's also important to not skip this step even if it seems like perfect weather conditions outside; sun intensity is much stronger outdoors than indoors, which can cause severe sunburn (yes, like humans!) This can damage plant foliage beyond recovery. Once your plants are acclimated and ready for planting in the garden, choose an appropriate location with enough sunlight (full sun, part sun, or shade depending on plant requirements) and prepare the soil with enough nutrients for healthy growth.
Transplanting seedlings can be a rewarding experience, but it's important to consider timing and hardening off procedures before you start. Considering these things will ensure your plants have the best chance of thriving in their new environment.
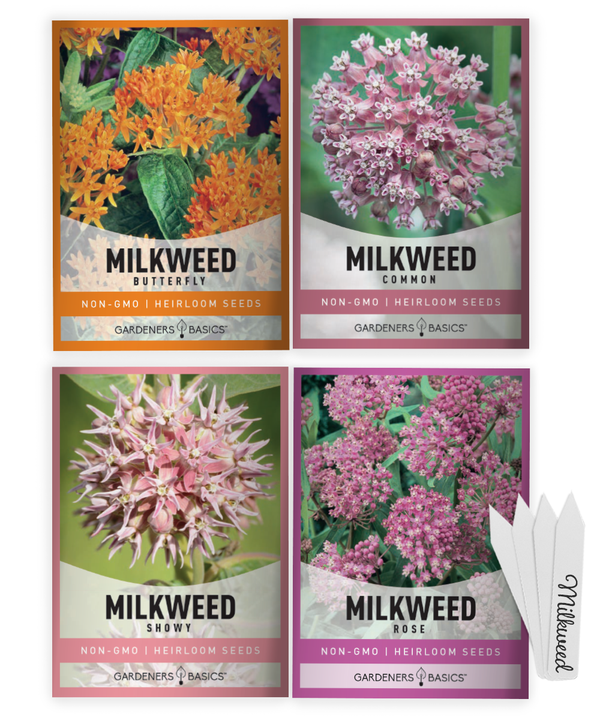
Milkweed Seeds For Monarch Butterflies | 4 Variety Pack
$9.95
Milkweed Seed Assortment For Planting – 4 Stunning Varieties to Attract Monarch Butterflies and Beautify Your Garden Transform your garden into a thriving paradise with our Milkweed Seed Assortment for Planting. This exclusive collection features four exquisite Milkweed varieties -… read more
Troubleshooting Common Issues
Damping Off Disease Prevention
Damping off is a common issue that can occur when starting seeds indoors. A fungal disease causes seedlings to rot at the soil line and ultimately die. There are several ways to prevent damping off.
First, use sterile soil mix and containers to avoid introducing the fungus into your seed-starting environment. Additionally, avoid overwatering your seedlings; damp soil promotes the growth of the fungus.
Provide proper air circulation and ventilation by opening windows or using fans. If you notice symptoms of damping off in your seedlings, it'sacting quickly to prevent it from spreading is essential.
Remove any affected plants immediately and dispose of them outside your home or garden area. You can also try treating the remaining plants with a fungicide labeled for damping-off prevention.
Pest Control Strategies
Pests can be a big problem when starting seeds indoors, as they can quickly destroy young and vulnerable plants. One effective pest control strategy is to use physical barriers such as mesh screens or row covers to keep pests away from your plants. You can also use natural remedies such as neem oil, insecticidal soap, or diatomaceous earth to control pests without harsh chemicals.
These substances work by suffocating or dehydrating insects without harming your plants. Another strategy is companion planting - growing certain plants that repel pests naturally.
For example, planting marigolds near tomatoes can help repel aphids while attracting beneficial insects like ladybugs. Monitor pests daily to catch any issues before they become too severe.
 FAQ: Seed Starting for Beginners
1. What is seed starting?
Seed starting is germinating seeds to grow plants, typically indoors, before transplanting them to their final outdoor or indoor location. It's a popular method among gardeners to get a head start on the growing season, ensuring healthy and robust plants.
2. When should I start my seeds indoors?
The ideal time to start seeds indoors depends on the type of plant and your local climate. Generally, seed starting should occur 6-8 weeks before the last expected frost in your area. Check the seed packet for specific recommendations for your chosen plant species.
3. What supplies do I need to start seeds indoors?
You will need the following:
- Heirloom Seeds
- Seed trays, pots, or containers with drainage holes
- Seed starting mix or soilless growing medium
- Water
- Labels or markers for plant identification
- Plastic wrap, plastic dome, or humidity cover
- A heat mat
- Grow lights
4. What type of soil should I use for seed starting?
A lightweight, sterile seed starting mix or soilless growing medium is ideal for germinating seeds. These mixes are designed to balance moisture retention, drainage, and aeration perfectly to promote healthy root growth.
5. How deep should I plant my seeds?
Seed planting depth varies depending on the size of the seed. Generally, plant seeds at 2-3 times their diameter depth. Refer to the seed packet for specific planting depth recommendations.
6. How often should I water my seedlings?
Keep the growing medium consistently moist but not soggy during the germination process. Once seedlings emerge, water them when the top of the soil feels dry, being careful not to over-water.
7. Do I need grow lights for seed starting?
Grow lights are not always necessary if you can access a sunny, south-facing window that provides at least 6-8 hours of direct sunlight daily. However, if natural light is insufficient, grow lights can provide the necessary light spectrum for healthy growth. However, from what I've seen in gardening groups, those with leggy plants almost always don't have grow lights. If you want healthy plants, invest in some grow lights.
8. How do I know when my seedlings can be transplanted?
Seedlings are usually ready for transplanting when they have developed at least two sets of true leaves, are sturdy, and have a well-established root system. Make sure to harden off your seedlings before transplanting them outdoors, gradually exposing them to the outdoor environment over 7-10 days.
Hot Pepper Seeds For Planting | 5 Variety Pack

$9.95
Heirloom Hot Pepper Seeds – 5 Variety Pack, Includes Habanero & Ghost Pepper Seeds Spice up your garden with our 5 Hot Pepper Seeds Variety Pack—a must-have for any hot pepper lover or home gardener! This premium collection includes heirloom, non-hybrid,… read more
9. What if my seedlings become tall and spindly?
Tall, spindly seedlings, also known as "leggy" seedlings, are often a result of insufficient light. Place seedlings in a well-lit area or use grow lights to prevent this. If your seedlings are already leggy, you may be able to bury the stem up to the first set of true leaves when transplanting, depending on the plant species.
10. Can I reuse my seed starting mix?
Using a fresh seed starting mix each season is generally recommended to minimize the risk of diseases and pests. If you decide to reuse your mix, sterilize it by baking it in the oven at 200°F for 30 minutes or microwaving it on high for 90 seconds per 2 pounds of mix. Let it cool completely before using.
11. How can I tell if my seeds are still viable?
To test seed viability, place 10 seeds on a moist paper towel, fold it, and place it in a plastic bag. Keep the bag in a warm place and check the seeds for germination after the recommended germination period. If at least half of the seeds germinate, they are still viable. Older seeds may have a reduced germination rate, so it's a good idea to sow them more densely.
12. Can I use egg cartons or other household items for seed starting?
As seed-starting containers, you can repurpose household items like egg cartons, yogurt cups, or paper towel rolls. Make sure to poke drainage holes in the bottom and use a proper seed-starting mix. Remember that these containers may degrade over time and need to be replaced.
13. Why are my seedlings dying after germination (damping off)?
"Damping off" is a term used to describe the sudden death of seedlings, typically caused by fungal pathogens in the soil. To prevent damping off, use a sterile seed starting mix, avoid over-watering, and provide good air circulation around your seedlings. You can also use a fan to gently move the air around the seedlings, which helps strengthen their stems and prevents fungal growth.
14. Should I fertilize my seedlings?
Seedlings typically don't require fertilization until they have developed their first set of true leaves. You can apply a half-strength, water-soluble fertilizer at this stage every 2-3 weeks. Avoid over-fertilization, leading to rapid growth and weak, leggy seedlings.
15. Can I start seeds directly outdoors?
Depending on the plant species and local climate, many seeds can be directly sown outdoors. Refer to the seed packet for instructions on direct sowing. Direct sowing can be more straightforward for beginners, as it eliminates the need for transplanting and hardening off seedlings. However, starting seeds indoors may provide more control over germination conditions and protection from pests and weather fluctuations.
16. What should I do if my seeds don't germinate?
If your seeds don't germinate within the expected time frame, consider the following factors: seed viability, planting depth, moisture levels, temperature, and light exposure. Ensure you've provided the optimal conditions for germination and wait a bit longer. If the seeds don't germinate, you may need to start fresh with new seeds.
17. What are the benefits of seed starting compared to buying seedlings from a nursery?
Seed starting allows you to:
- Get a head start on the growing season, which can lead to earlier harvests
- Choose from a wider variety of plant species, including heirlooms and rare varieties
- Save money, as seeds are typically less expensive than seedlings
- Control the growing environment, ensuring healthy and strong plants
- Experience the satisfaction of growing plants from seeds to harvest
18. Can I grow plants from seeds found in fruits and vegetables?
Yes, you can grow plants from seeds found in fruits and vegetables, though the resulting plants may not be identical to the parent plant due to cross-pollination or hybridization. It's also essential to properly clean and dry the seeds before storing or planting them to prevent mold and rot. Keep in mind that some store-bought produce may have seeds that are not viable or require specific conditions for germination.
Starting seeds indoors may seem intimidating initially, but with the right preparation and knowledge, it can be an enriching experience. As with any gardening endeavor, there will be challenges along the way, but by following these tips and troubleshooting strategies, you can set yourself up for success.
Remember, seed starting is a process of trial and error, so don't be discouraged if you encounter setbacks. With patience and persistence, you can grow healthy plants from seed and enjoy the fruits (and veggies) of your labor.
Conclusion Recap Seed Starting For Beginners
In this guide, we covered all the basics of seed starting for beginners. We explained why seed starting is a great way to grow plants, choose the right seeds, select containers and soil mixtures, gather necessary tools and supplies, prepare seeds for planting, plant them properly, care for seedlings, and transplant them in the garden. We also discussed common issues that you may encounter when starting seeds. Encouragement to Try Seed Starting
Seed starting might seem intimidating initially, but with some knowledge and some practice, you can do it! Not only is it an affordable way to grow plants, but it's also gratifying.
Watching a tiny seed turn into a full-grown plant is genuinely magical. Don't be afraid to experiment with different types of seeds and techniques.
The more you practice, the better you'll become at growing healthy seedlings. And if something doesn't work out, don't worry too much about it - gardening is all about learning from your experiences.
There's nothing like growing your food or cultivating beautiful flowers from scratch. By starting your seeds, you have complete control over what goes into your garden and can enjoy knowing that you grew everything from scratch.
So go ahead and give seed starting a try! With patience, care, and practice - you'll be rewarded with healthy, happy plants that will last throughout the season! Do you feel like seed starting for beginners is doable now? We sure hope so!