
Little microgreens are taken right when they form their first proper set of leaves. They make a fantastic addition to salads, sandwiches, and other dishes since they are flavorful, nutrient-rich, and nutritious. Fresh greens can be had all year long by growing microgreens in a greenhouse. We'll walk you through every step of how to grow microgreens in a greenhouse.
Choosing seeds for microgreens
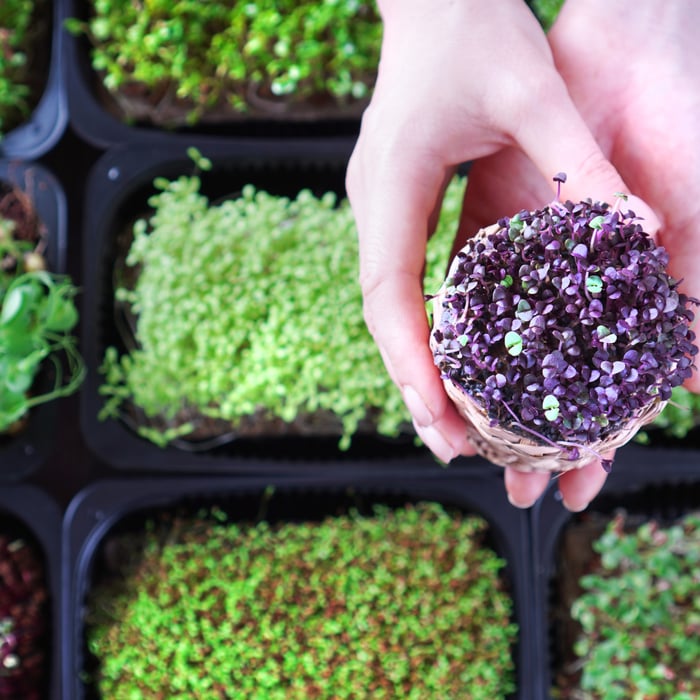
Choosing the right seeds is the first step in cultivating microgreens in a greenhouse. Microgreens come in various varieties, including arugula, broccoli, kale, and radish. The time it takes for the microgreens to mature varies depending on the type of seed you choose, so keep that in mind when selecting your sources. While other microgreens could require two weeks or longer, some can be picked up in as little as seven days.
Leafy Green Salad Seeds | 8 Variety Pack
$15.95
Ultimate 8 Leafy Green Salad Seeds Variety Pack for Fresh, Homegrown Salads Introducing our 8 Leafy Green Salad Seeds Variety Pack, perfect for growing fresh, nutrient-dense greens right at home! This carefully curated selection of leafy green seeds includes heirloom,… read more
Sources of microgreen seeds
Seed catalogs, online merchants, and garden centers are just a few places to find microgreen seeds. Regular seeds might not be appropriate for growing microgreens, so be careful to use sources specially labeled as microgreens. If it's important to you, you might try looking for non-GMO and organic seeds.
Getting the Seeds and Soil Ready
After choosing your seeds, it's time to get the soil or growing medium ready. Microgreens do well with soilless growing mediums like peat moss or coconut coir. They facilitate good soil contact and facilitate simple root development.
Choose a high-quality potting mix free of weed seeds, pests, and diseases if you're using soil. You should leave approximately an inch of space at the top of your trays or containers before filling them with soil or growing material. Put paper towels in a tray and wet them with water if you use them as a growing medium.
Scatter the seeds
The soil or growing medium should be evenly covered with the microgreen seeds. Ensure the roots are not too closely packed together for the best results. To scatter the seeds, use a shaker or your fingers.
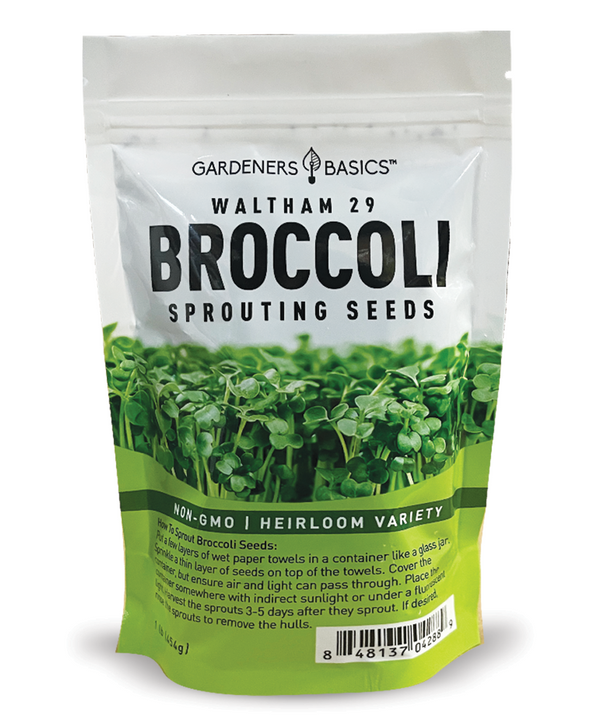
Waltham 29 Broccoli Sprouting Seeds - 1 Pound
$17.95
$24.95
Waltham 29 Broccoli Sprouting Seeds for Nutrient-Packed Microgreens - Heirloom, Non-GMO, Open-Pollinated, Non-Hybrid Discover the joy of growing your own Waltham 29 Broccoli Sprouts, a powerhouse of flavor and nutrition. These heirloom, non-GMO, non-hybrid, and open-pollinated seeds are perfect for… read more
Wrap the seeds.
After scattering the seeds, cover them with a thin layer of soil or more paper towels, depending on your preference. This will encourage germination and keep the roots moist. Keep in mind that too much covering could prevent the roots from sprouting.
Provide Adequate Light
Microgreens need plenty of light to grow. If you're growing your microgreens indoors, you must provide them with grow lights. LED grow lights are a good choice, as they are energy-efficient and emit the right light for plant growth.
Place the grow lights about an inch above the seeds and keep them on for 12 to 16 hours daily. You may not need to grow lights if you're growing microgreens in a greenhouse, as they'll receive plenty of natural light. Make sure to monitor the light levels and adjust accordingly.
Water Your Microgreens
Water is crucial for microgreen growth. Ensure to water your microgreens daily, keeping the soil or growing medium moist but not soaked. Overwatering can lead to mold growth, so striking a balance is essential.
You can use a spray bottle or a watering can with a gentle stream to water your microgreens. Ensure to water the soil or growing medium evenly, and avoid getting the leaves wet.
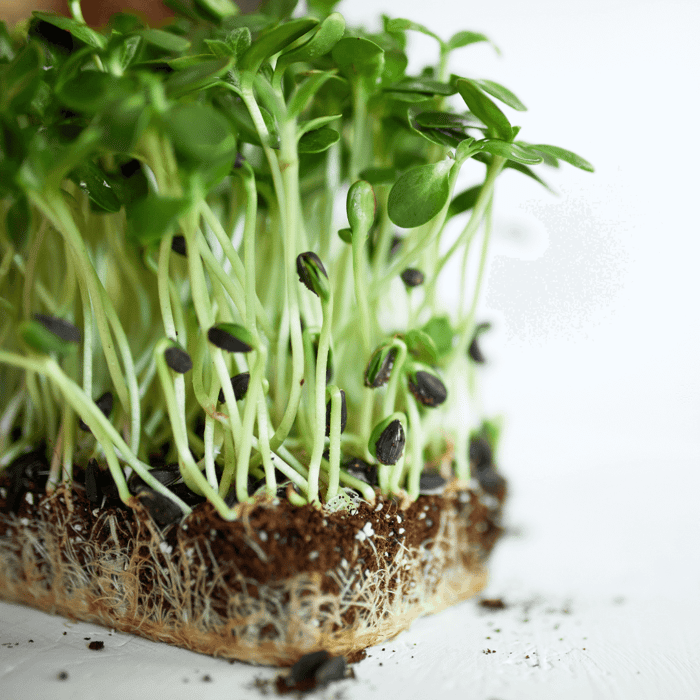
You'll see the first set of true leaves as your microgreens grow. These leaves mature after the cotyledons; the first two leaves sprout from the seed. The true leaves indicate that your microgreens are developing properly and are almost ready to harvest.
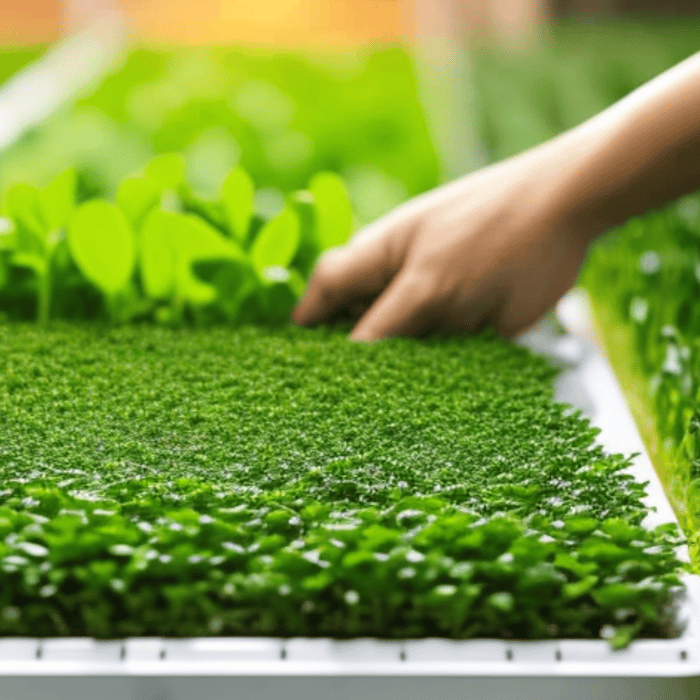
Time to Harvest
Depending on the type of microgreens you're growing, reaching maturity may take anywhere from seven to 21 days. The best way to determine if your microgreens are ready to harvest is to look for the appearance of the actual leaves. Your microgreens are ready to be harvested when the true leaves have fully developed.
Harvesting Microgreens
Use scissors or a sharp knife to cut the stems just above the soil line to harvest your microgreens. Make sure to gather your microgreens at their peak freshness, as this is when they'll be the most flavorful and nutritious.
Enjoy your Microgreens
Once you've harvested your microgreens, rinse them gently under cold water to remove any soil or debris. You can enjoy your microgreens immediately or store them in an airtight container in the refrigerator for up to a week.
Conclusion
Growing microgreens in a greenhouse is an excellent way to have fresh greens year-round. With the right seeds, soil, and growing conditions, you can produce a variety of nutrient-rich microgreens in just a few weeks. Whether you're interested in growing microgreens for personal use or to sell at farmers' markets or restaurants, this guide will help you get started on the right foot. Remember to be patient and enjoy watching your microgreens grow and thrive.