
Growing okra seeds in Texas can be a rewarding experience, but it does require some careful planning and attention to detail. Okra is a warm-season vegetable that is well-suited to the hot, dry conditions that are common in Texas. In this blog post, we will provide a step-by-step guide on how to grow okra in Texas, including tips on planting, watering, fertilizing, and harvesting.
Step 1: Start Okra Seeds Indoors
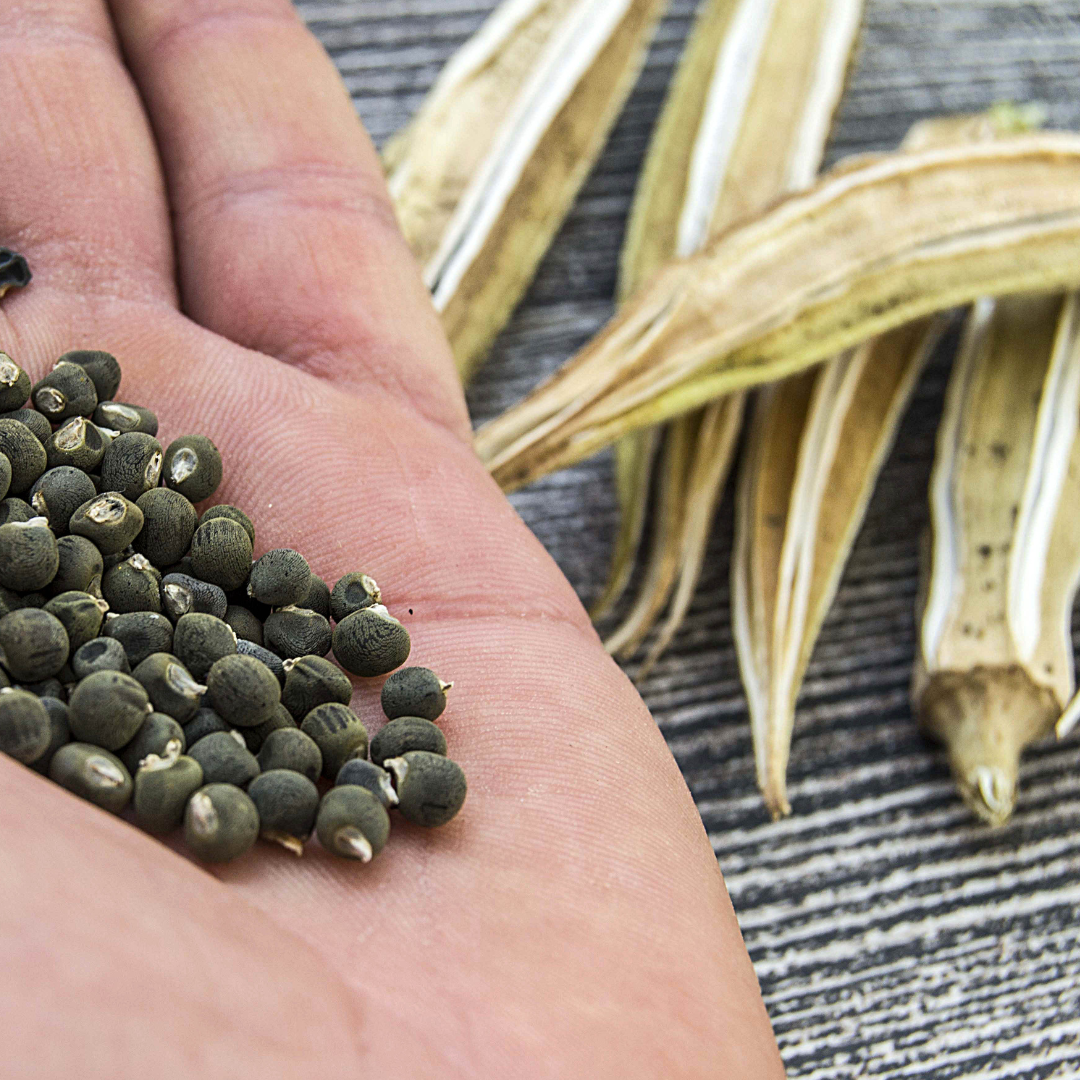
The first step in growing okra in Texas is to start the seeds indoors. Okra seeds can be started indoors about 4-6 weeks before the last expected frost. To start the seeds, fill a seed tray with potting soil and plant the seeds about ¼ inch deep. Keep the soil moist and warm, and the seeds should germinate in about 7-10 days.
Step 2: Transplant Seedlings Outdoors
Once the frost has passed and the weather has warmed up, it is time to transplant the okra seedlings outdoors. Choose a sunny location with well-draining soil. Dig a hole that is about 2 feet tall and 2 feet wide, and plant the seedling about 18 inches apart. Make sure to water the plants well after transplanting.
Step 3: Water Okra Plants Regularly
Okra plants require regular watering to thrive in the hot, dry conditions of Texas. Water the plants deeply once or twice a week, depending on the weather conditions. Be sure to water the plants at the base, rather than from above, to avoid wetting the leaves and stems. Wet leaves and stems can lead to fungal diseases.
Step 4: Fertilize Okra Plants
Okra plants benefit from regular fertilization throughout the growing season. Apply a balanced fertilizer, such as a 10-10-10, once a month to encourage healthy growth and abundant fruit production. Be sure to follow the instructions on the fertilizer package and avoid over-fertilizing, which can lead to burning of the plants.
Step 5: Protect Yourself When Harvesting Okra
When it comes time to harvest the okra pods, it is important to protect yourself from the prickly leaves and stems. Wear long sleeves and gloves to avoid being scratched by the okra plants. Use pruning shears to cut the pods from the plant, leaving a short stem attached to the pod.
Step 6: Harvest Okra Pods When They Are Ready
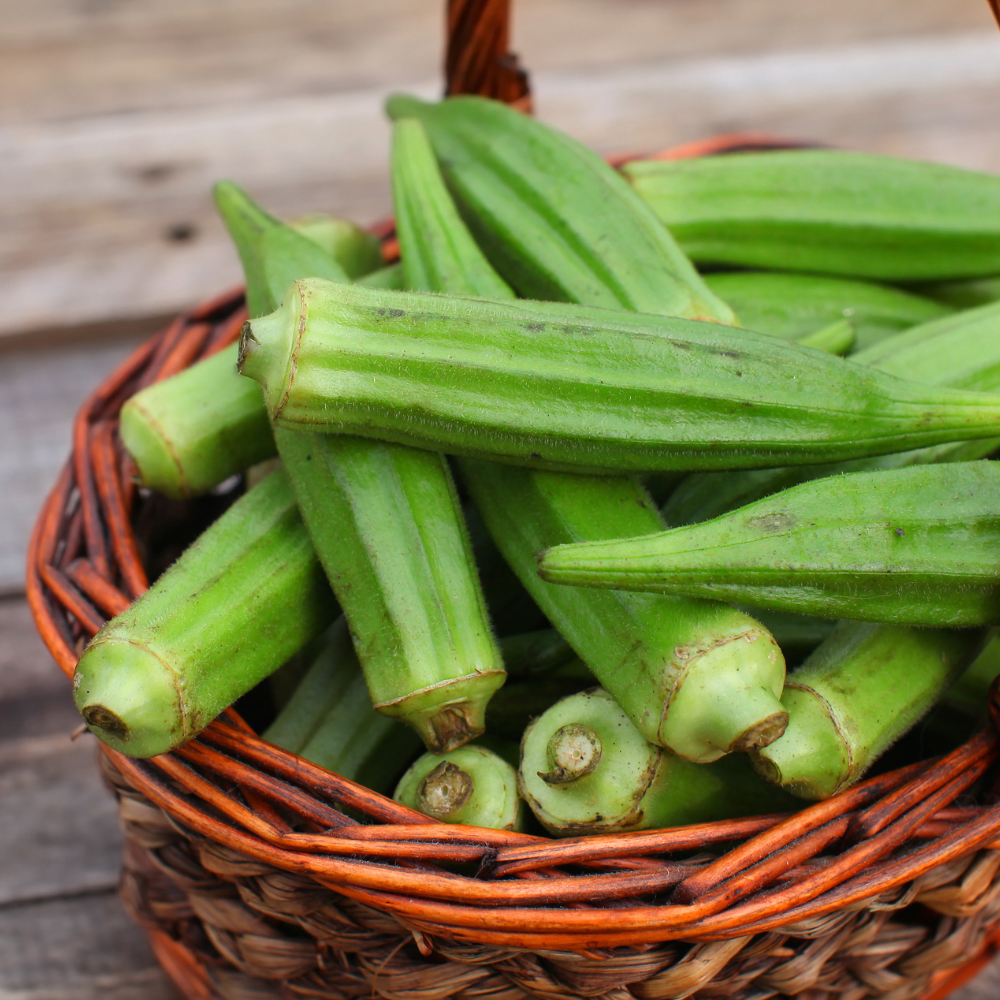
Okra pods are ready to pick about 2-3 months after planting. They should be about 3-4 inches long and firm to the touch. Pick the pods every three to four days to encourage continued fruit production. Be sure to harvest the pods before they become too large and tough, as this can make them unpleasant to eat.
Step 7: Apply Okra Pods Immediately After Harvest
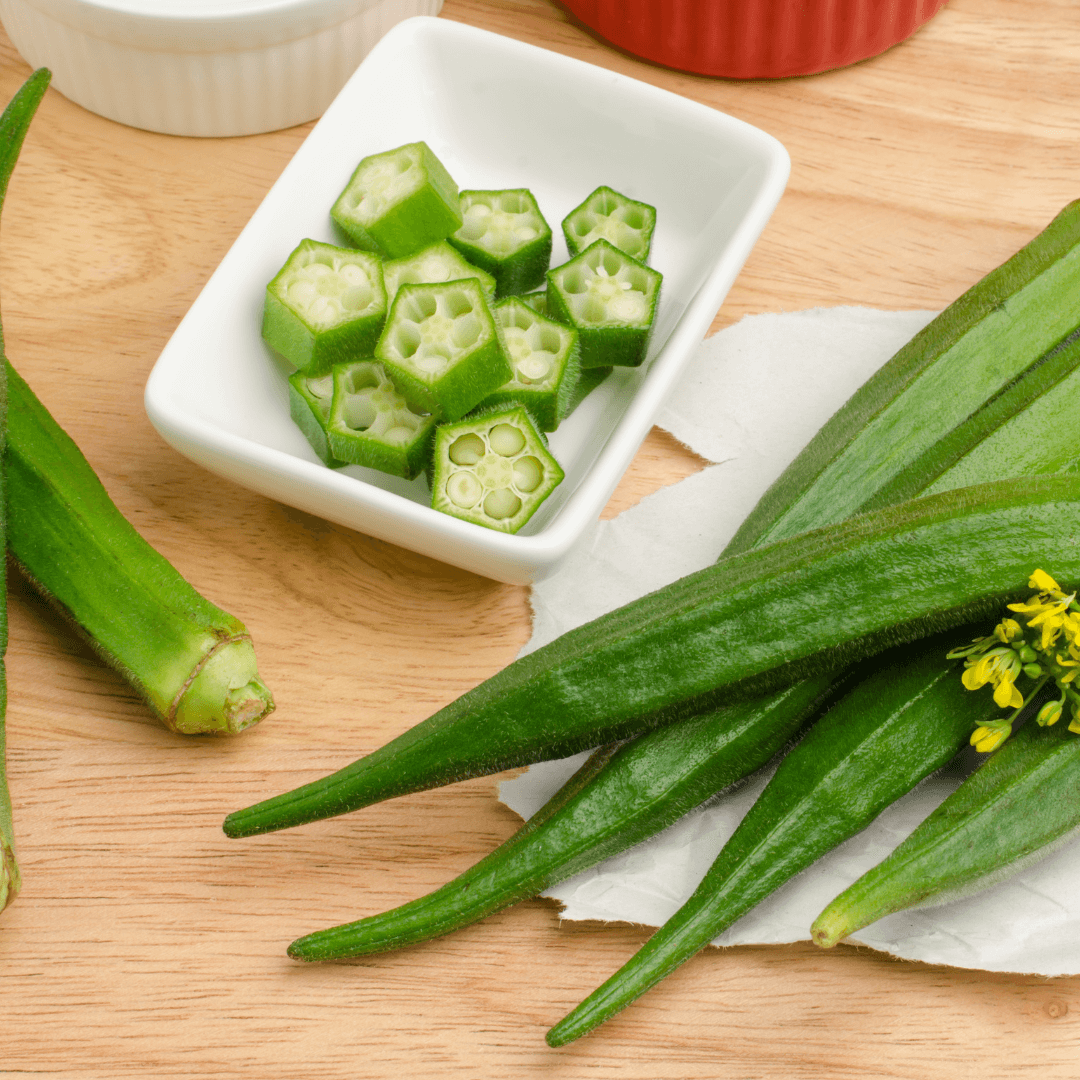
Okra pods are best eaten fresh, so be sure to apply them immediately after harvest. Okra pods can be fried, grilled, sautéed, or added to stews and soups. They are a versatile vegetable that can be used in a wide range of dishes.
Step 8: Cut Okra Plants Back After Harvest
After harvesting the okra pods, cut the okra plants back to about 6-8 inches tall. This will encourage continued growth and fruit production. Be sure to water and fertilize the plants regularly to keep them healthy and productive throughout the growing season.
Step 9: Watch Out for Pests and Diseases
Okra plants can be susceptible to a variety of pests and diseases, including aphids, spider mites, and fungal diseases. Watch out for any signs of infestation, such as yellowing leaves or webbing on the plants. Treat any pests or diseases promptly to prevent them from spreading.
Step 10: Enjoy Large, Beautiful Flowers
One of the great things about growing okra is the beautiful flowers that the plants produce. Okra plants can produce large, showy flowers in shades of white, yellow, and pink. These flowers typically appear about two months after planting and can add a colorful touch to any garden.
Step 11: Grow Okra in Dry Conditions
Growing okra in Texas can be challenging due to the hot, dry conditions. However, there are some things you can do to help your okra plants thrive in these conditions. First, choose a location that receives plenty of sun but is protected from strong winds. Second, make sure the soil is well-draining and rich in organic matter. Finally, water the plants deeply and regularly to keep them hydrated and healthy.
Step 12: Extend the Growing Season
If you want to extend the growing season for your okra plants, you can try planting them in raised beds or containers. This can help to keep the soil warm and moist, which can encourage faster growth and fruit production. You can also try planting okra in succession, with new seedlings planted every few weeks, to ensure a steady supply of fresh okra throughout the season.
Step 13: Store Okra Properly
If you have more okra than you can use immediately, you can store it in the refrigerator for up to a week. To store okra, wrap the pods in a damp paper towel and place them in a plastic bag. You can also freeze okra for later use. To freeze okra, blanch the pods in boiling water for 3-4 minutes, then transfer them to a bowl of ice water to stop the cooking process. Drain the pods and place them in a freezer-safe container.
In conclusion, growing okra in Texas can be a fun and rewarding experience. With proper care and attention, you can produce a bountiful crop of delicious, nutritious okra pods that are perfect for frying, grilling, or adding to your favorite dishes. Remember to start your seeds indoors, transplant the seedlings outdoors once the frost has passed, water and fertilize regularly, harvest the pods when they are ready, and protect yourself from the prickly leaves and stems. With these tips in mind, you can grow beautiful, healthy okra plants that will provide you with a delicious and nutritious crop for months to come.