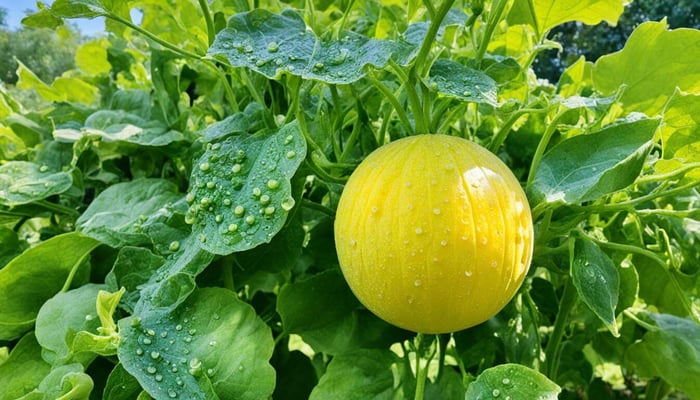

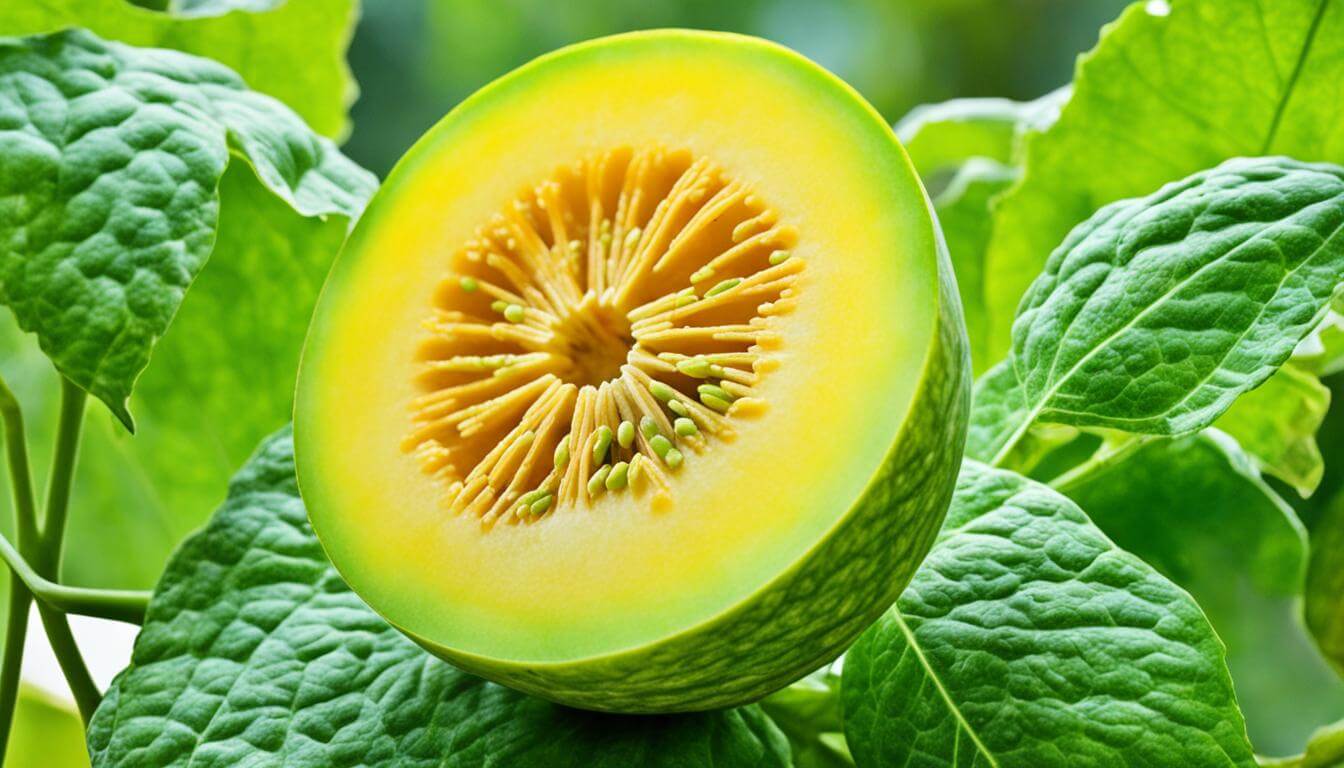
Picture this: a warm, sunny day, a gentle breeze rustling through the trees, and a ripe yellow canary melon waiting to be indulged. With its vibrant yellow hue and tantalizingly sweet flavor, the yellow canary melon is a tropical delight that can transport your taste buds to paradise. Learning how to grow yellow canary melons from seed will take your taste buds on vacation every summer!
Yellow canary melons are a unique variety of muskmelon that originate from Africa. They belong to the Cucurbitaceae family and are closely related to watermelons and cantaloupes.
Their captivating golden-yellow rind sets them apart from their relatives, which practically glows with optimism and warmth. These melons may not be as commonly found in grocery stores as watermelons or cantaloupes, but they become an irresistible treat for those who have experienced their lusciousness.
Overview of Yellow Canary Melons
- Days till Maturity: Approximately 75-90 days.
- Planting Depth: About ½ inch deep.
- Plant Spacing: Transplant seedlings about 2-3 feet apart.
- Days to Germination: Typically 7-10 days.
- Indoors or Direct Sown: Start indoors, then transplant outdoors.
- Full Sun or Partial Shade: Prefers full sun.
- When to Harvest: When the melon detaches easily from the vine, the skin turns yellow, giving slight pressure.
- How Tall Does the Plant Get? The vine can grow several feet long, but the height is typically around 1-2 feet as it sprawls across the ground.
- How Wide Does the Plant Get: The vine can spread over 6 feet wide.
- Native: The Canary Melon is believed to be native to Asia or Africa.
- Family: Cucurbitaceae (the same family as cucumbers, squash, and other melons).
Yellow Canary Melon Seeds
$2.49
Yellow Canary Melon Seeds – Heirloom, Non-GMO, Non-Hybrid, Open-Pollinated Grow your own sweet, golden-hued Yellow Canary Melons with our premium heirloom seeds! These vibrant melons, known for their smooth, bright yellow rinds and refreshingly sweet, pale green flesh, are a… read more
Selecting the Right Seeds
The Essence of Quality
Selecting the right seeds is an absolute must when growing yellow canary melons. You must source your seeds from a reputable supplier who knows their stuff! High-quality seeds ensure a higher probability of success in your gardening endeavor.
Thanks for giving us a shot at Gardeners Basics for your yellow canary seeds. We carry only fresh heirloom seed with high germination rates.
Preparing the Soil for Planting
Preferred Soil Type: Well-Draining Loamy Soil
Yellow canary melons thrive in well-draining, loamy soil, perfectly balancing soil texture and moisture retention. Loamy soil consists of sand, silt, and clay, creating an ideal environment for the roots to grow and absorb nutrients effectively.
This soil type ensures that excess water drains away, preventing waterlogging that can lead to root rot and other diseases. Aim for a loose, crumbly soil texture that allows proper aeration when preparing your garden bed or container for yellow canary melons.
Ideal pH Level: Testing and Adjusting
Maintaining the right pH level in your soil is crucial for successfully growing yellow canary melons. Ideally, the pH should be between 6 to 7, which is slightly acidic to neutral. To determine your soil's pH level, use a simple testing kit available at most garden centers or online.
Follow the instructions provided with the kit to collect a sample from different areas of your garden where you plan to grow the melons. If your soil's pH level is too acidic (below 6), you can raise it by adding lime or wood ash in moderation.
On the other hand, if it is too alkaline (above 7), you may need to lower it by incorporating organic matter like compost or well-rotted manure into the soil. Adjusting pH levels takes time and should be done incrementally over several weeks before planting.
By ensuring your yellow canary melon seeds are sown in well-draining, loamy soil with an optimal pH level, you set them on track for healthy growth from the start. So, let's move on to starting those seeds indoors and providing them with a nurturing environment until they are ready to be transplanted outdoors.
Starting Seeds Indoors
A Seed of Potential: Planting the Future
Starting off on the right foot is important before embarking on your journey to grow yellow canary melons. The first step in this fruitful adventure is to sow your seeds indoors. By starting your seeds indoors, you give them a head start in a controlled environment, increasing their chances of germination and successful growth.
To begin, gather your seed trays or pots. Ensure they are clean and free from any lingering dust or debris that could impede seedling growth.
Fill them with a high-quality seed-starting mix, which provides the ideal balance of nutrients and drainage for young plants. Now comes the moment of truth - planting those precious yellow canary melon seeds.
Gently press one or two seeds into each pot or cell tray, ensuring they are buried at a depth of approximately 1 inch (2.5 cm). Leave enough space between each seed to prevent overcrowding as they sprout into vibrant green shoots.
Temperature, Light, and Moisture
Once your yellow canary melon seeds have settled comfortably into their new homes, it's time to provide them with their essential needs: temperature, light, and moisture - the nurturing trifecta for successful germination. Temperature is crucial in encouraging those dormant seeds to awaken from their slumber. Aim for an optimal temperature range between 75-85°F (24-29°C) during germination.
You can achieve this by placing your trays or pots in a warm location near a sunny window or using heating mats specifically designed for seedlings. Next up is lighting - an indispensable ingredient for healthy plant development.
Place your trays under fluorescent grow lights about 2 inches (5 cm) above the soil surface. Keep these lights on for 14-16 hours daily to give your little sprouts the ample illumination they crave.
If you don't have access to grow lights, don't fret! A sunny windowsill can also do the trick, although rotating the trays daily prevents your seedlings from leaning toward the light.
We come to moisture - the elixir of life for our eager yellow canary melon seeds. Use a spray bottle or fine mist nozzle attachment on your watering can to gently moisten the soil surface without creating pools of water.
Maintain consistent moisture levels by monitoring the soil and misting it whenever it feels dry. Remember not to drown your young seedlings; they prefer a light touch regarding hydration.
With careful attention to temperature, lighting, and moisture, your yellow canary melon seeds will soon reward you with joyful sprouts bursting forth from the soil. Witnessing this small miracle begins a fruitful journey toward growing these golden gems in your backyard.
Transplanting Seedlings Outdoors
Timing is Everything!
When transplanting your yellow canary melon seedlings outdoors, timing is everything! You want to wait until all danger of frost has passed and the soil has warmed up nicely. These little seedlings are delicate, so they need the right conditions to thrive.
Typically, you'll want to wait until after the last spring frost and when daytime temperatures consistently reach around 70°F (21°C). Trust me, these sunshine-loving melons won't be happy if you rush them into the great outdoors too soon.
But that's not all - stage matters too! Your precious seedlings should have at least two sets of true leaves before being transplanted.
These leaves come after the initial pair of tiny "seed leaves." Ensure your little green babies are strong before introducing them to their outdoor adventure. Patience is key here; giving them time to develop a robust root system will set them up for success in their new garden home.
Time for Tough Love: Hardening Off
Now, here's where we talk about tough love. Before transitioning your seedlings from the cozy confines of indoors to the wild world outside, they need some toughening up. It's called hardening off – a process that helps acclimate your plants gradually and prevent shock.
Start by placing your seedlings in a sheltered spot outdoors for an hour or two during mild weather conditions. Gradually increase their outdoor exposure over several days by extending their time outside and exposing them to more direct sunlight and varying weather conditions.
This gradual introduction prepares your plants for wind, temperature fluctuations, and even intense sunlight without crumpling under pressure. Think of it as training wheels for future garden champions!
After 7-10 days of this tough love, your seedlings will be ready for their permanent residence in the garden. So remember, don't rush the hardening-off process – it's an investment in healthy, strong plants that will reward you with luscious yellow canary melons!
Assorted Melon Seeds | 5 Variety Pack
$9.95
Grow Fresh Summer Melons with Our 5-Pack Heirloom Melon Seeds Assortment Are you looking to add some variety to your home garden? Our melon fruit seeds 5 variety pack includes a mix of delicious and nutritious melon seeds that are… read more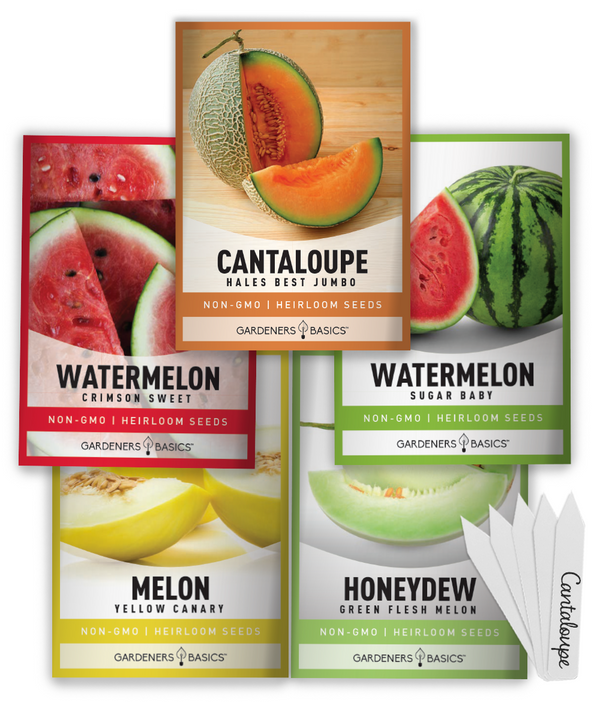
Creating a Suitable Growing Environment
The Power of the Sun: Harnessing Full Sun Exposure for Optimal Growth
Ah, the golden rays of the sun! Like humans, yellow canary melons thrive when exposed to ample sunlight. These heavenly fruits are sun-worshippers, so finding a sunny spot in your garden is paramount.
Aim for at least 6 to 8 hours of direct sunlight daily to fuel their growth and ensure sweet, succulent melons. Remember that melon vines can get quite sprawling, so choose a location with enough space to stretch their leafy limbs without casting shade on neighboring plants.
If you're short on garden real estate, fear not - vertical gardening solutions like trellises or fences can be your best friends. Training the vines to climb upward toward the sun will save space while giving your melons ample access to that vital solar energy.
Raised Beds and Mounds: Lifting Your Melon Game with Improved Drainage
Picture this: a picturesque raised bed or a charming mound to nurture your yellow canary melons. These structures add an aesthetic touch to your garden and provide excellent drainage, making these juicy delights dance joyfully. Select untreated lumber or durable materials such as stone or brick to construct a raised bed.
Build it about 12 inches high and fill it with nutrient-rich soil mixed with well-aged compost. This elevated oasis helps prevent waterlogging and ensures good air circulation around the roots – which is essential for healthy plant growth.
As for mounds, simply gather soil into circular heaps about 2 feet wide and 8 inches high. These natural hillocks elevate your baby melons above potential water accumulation zones, allowing excess moisture to dissipate more efficiently.
So, dear melon enthusiasts, don't underestimate the power of a sunny spot and a well-draining bed or mound. Give your yellow canary melons the perfect environment to blossom, and they'll reward you with an abundance of luscious fruits that will make your taste buds sing with joy.
Watering and Fertilizing
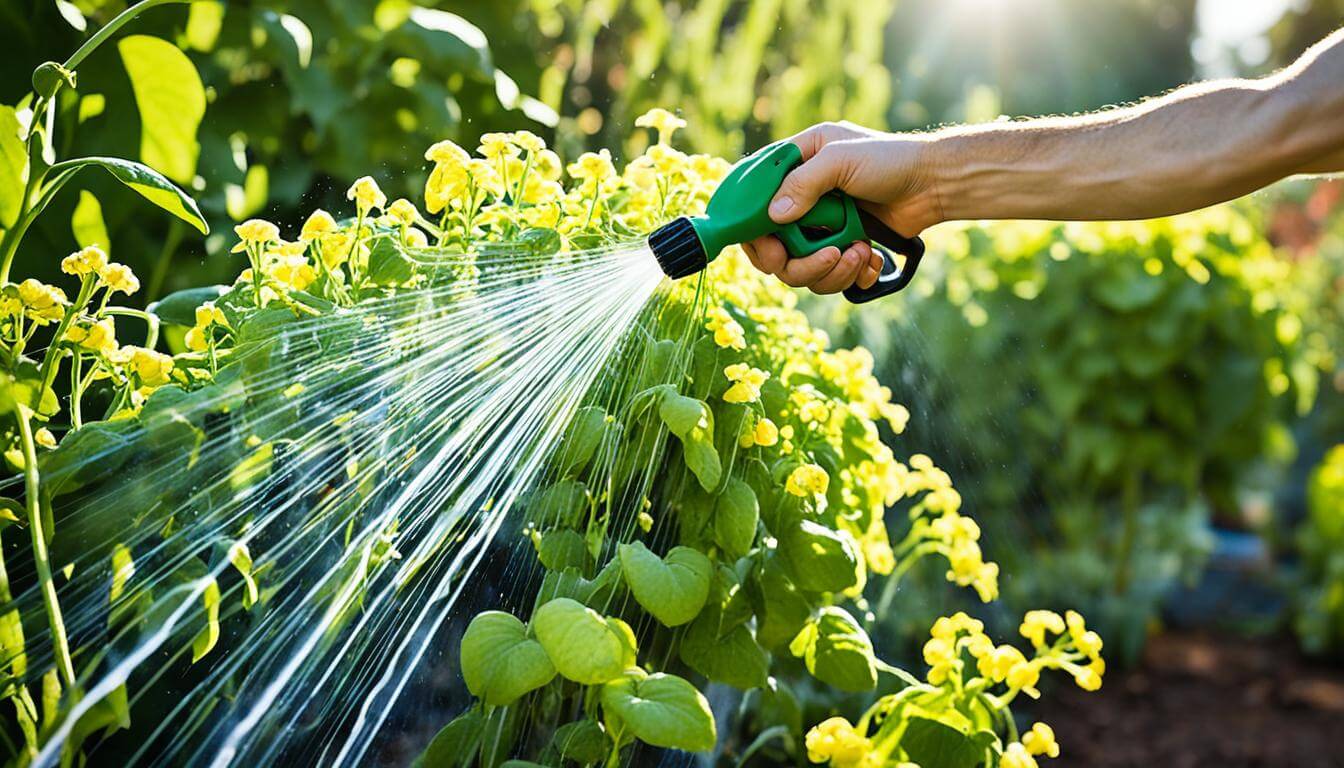
Proper Watering Techniques for Yellow Canary Melons
When it comes to watering your yellow canary melons, consistency is key. These juicy fruits thrive in moist soil, but overwatering can lead to root rot or other fungal diseases that may spoil your harvest.
To ensure optimal growth, water the plants deeply but infrequently. Aim to provide about 1-2 inches of water per week through rainfall or irrigation.
One helpful technique is to water the plants deeply once a week rather than giving them frequent light sprinklings. This encourages the roots to grow deeper and establish a strong foundation for the plant.
To prevent moisture evaporation and maintain evenly moist soil, consider adding a layer of organic mulch around the base of each plant. This will also help suppress weeds and regulate soil temperature.
Choosing Organic Fertilizers for Yellow Canary Melons
Yellow canary melon plants require adequate nutrients throughout their growing season to support vigorous growth and maximize fruit production. Regarding fertilizers, organic options are highly recommended as they promote long-term soil health while minimizing environmental impact. Look for organic fertilizers that are rich in nitrogen (N), phosphorus (P), and potassium (K).
Nitrogen encourages robust leafy growth, phosphorus promotes flower development and root formation, and potassium aids in overall plant vigor and disease resistance. You can find organic fertilizers specifically formulated for fruiting plants or use general-purpose varieties suitable for vegetables.
Consider using well-composted manure or compost as a natural source of nutrients for your yellow canary melon plants. These materials enrich the soil and improve its structure and moisture-retaining capacity.
Apply the fertilizer as directed on the packaging or based on recommendations specific to melons. Remember that over-fertilization can cause excessive foliage growth at the expense of fruit production, so be mindful of the dosage.
Regularly monitor your plants for signs of nutrient deficiencies, such as yellowing leaves or stunted growth, and adjust your fertilization routine accordingly. Following these proper watering techniques and using organic fertilizers will provide an environment that nurtures your yellow canary melons and ensures a bountiful harvest.
Trellising or Supporting Vines
Explain how trellising can help save space in small gardens while improving airflow around plants
Trellising is a fantastic method to maximize space in small gardens, especially when growing yellow canary melons. Training the vines to grow vertically rather than sprawling on the ground will create more room for other plants and ensure efficient use of your garden space.
Not only does trellising save space, but it also improves airflow around the plants, reducing the risk of diseases caused by excess moisture and promoting better pollination. When yellow canary melon vines are supported on a trellis, they have ample access to sunlight from all angles, encouraging even fruit ripening.
Additionally, trellised plants tend to have fewer pest problems as insects find it harder to reach the fruits when suspended in mid-air. Proper trellising techniques allow you to transform your garden into an organized oasis where vibrant yellow melon fruits dangle above lush green foliage.
Offer various trellising options such as stakes, cages, or
You have several options when choosing a suitable trellis for your yellow canary melons. One popular choice is using sturdy stakes driven into the ground regularly along the row of plants.
Tie the vines gently to these stakes using soft twine or cloth strips as they grow taller. This method works well for smaller gardens and allows easy access for pruning or harvesting.
Another option is wire cages for vine crops like tomatoes and watermelons. These cages provide excellent support while allowing air circulation around each plant's foliage and fruit clusters.
Simply place one cage per plant and gently guide the growing vine stems through its openings as they extend upwards. For those seeking a more creative approach or saving space, consider constructing a trellis using a sturdy wooden frame or metal wire grid.
These trellises can be designed with various shapes and sizes, such as arched structures, A-frames, or even vertical walls. The key is to ensure they are strong enough to support the weight of the developing melons while allowing easy access for maintenance.
Conclusion - How to Grow Yellow Canary Melons From Seed
By incorporating trellising techniques into your yellow canary melon growing routine, you'll reap the benefits of space optimization, improved airflow, and easier fruit management. Whether you choose stakes and cages or get creative with a custom trellis design, remember that providing vertical support for your vines will lead to healthier plants and better-developed fruits.
So go ahead and embark on this exciting gardening journey – watch your yellow canary melon vines gracefully climb toward the sky, yielding an abundant harvest that will surely delight your taste buds. Happy gardening!
FAQ Section for Growing Yellow Canary Melons
Q: How long does it take for Yellow Canary Melons to mature?
A: Yellow Canary Melons typically mature after planting for about 75-90 days.
Q: What is the recommended planting depth for Yellow Canary Melon seeds?
A: Plant the seeds about ½ inch deep in the soil.
Q: How far apart should I plant Yellow Canary Melon seedlings?
A: Space the seedlings about 2-3 feet apart to ensure adequate room for growth.
Q: How many days does it take for Yellow Canary Melon seeds to germinate?
A: Germination usually occurs within 7-10 days under optimal conditions.
Q: Should I start Yellow Canary Melon seeds indoors or sow them directly outside?
A: It's best to start the seeds indoors and transplant them outdoors after the last frost.
Q: Do Yellow Canary Melons require full sun, or can they grow in partial shade?
A: These melons thrive best in full sun.
Q: When is the right time to harvest Yellow Canary Melons?
A: Harvest when the melon detaches easily from the vine, the skin is bright yellow, and the bottom gives slightly to pressure.
Q: How tall and wide do Yellow Canary Melon plants get?
A: The plants typically reach about 1-2 feet in height and can spread over 6 feet wide.
Q: Where are Yellow Canary Melons native to?
A: They are believed to be native to Asia or Africa.
Q: What family do Yellow Canary Melons belong to?
A: They are part of the Cucurbitaceae family, which includes cucumbers, squash, and other melons.
Seed Safe Survival Seed Kit - 35 Variety Pack
$29.95
Seed Safe Survival Seed Kit: The Ultimate Heirloom Collection for Self-Sufficient Gardening Introducing the Seed Safe - 35 Varieties of Heirloom Vegetable, Herb, and Fruit Seeds, the ultimate solution for gardeners who want to secure a bountiful future harvest. This… read more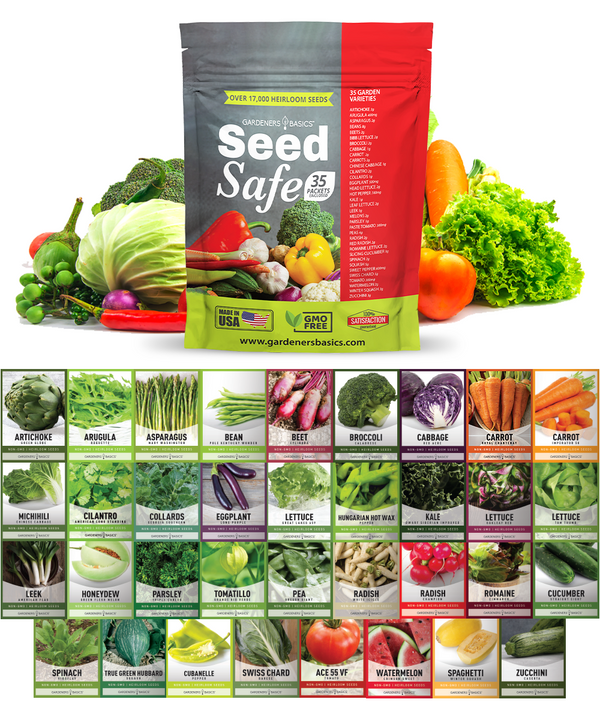
$49.95