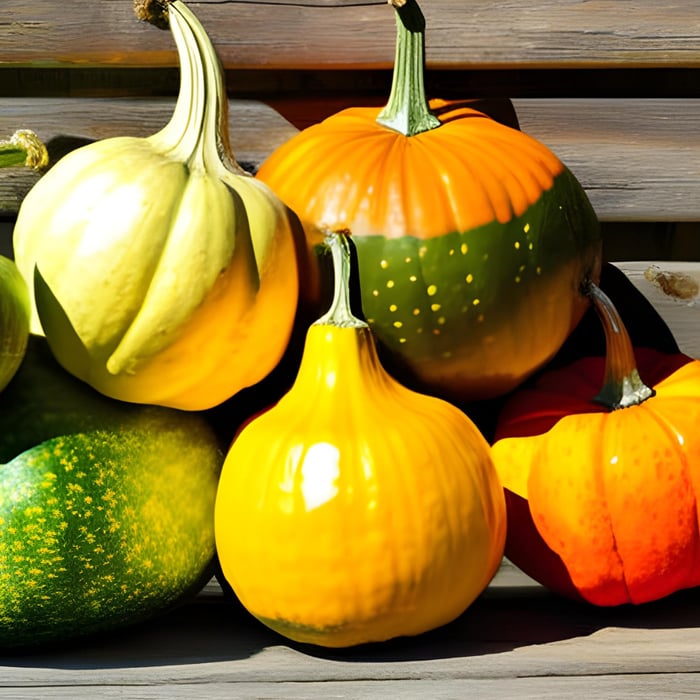

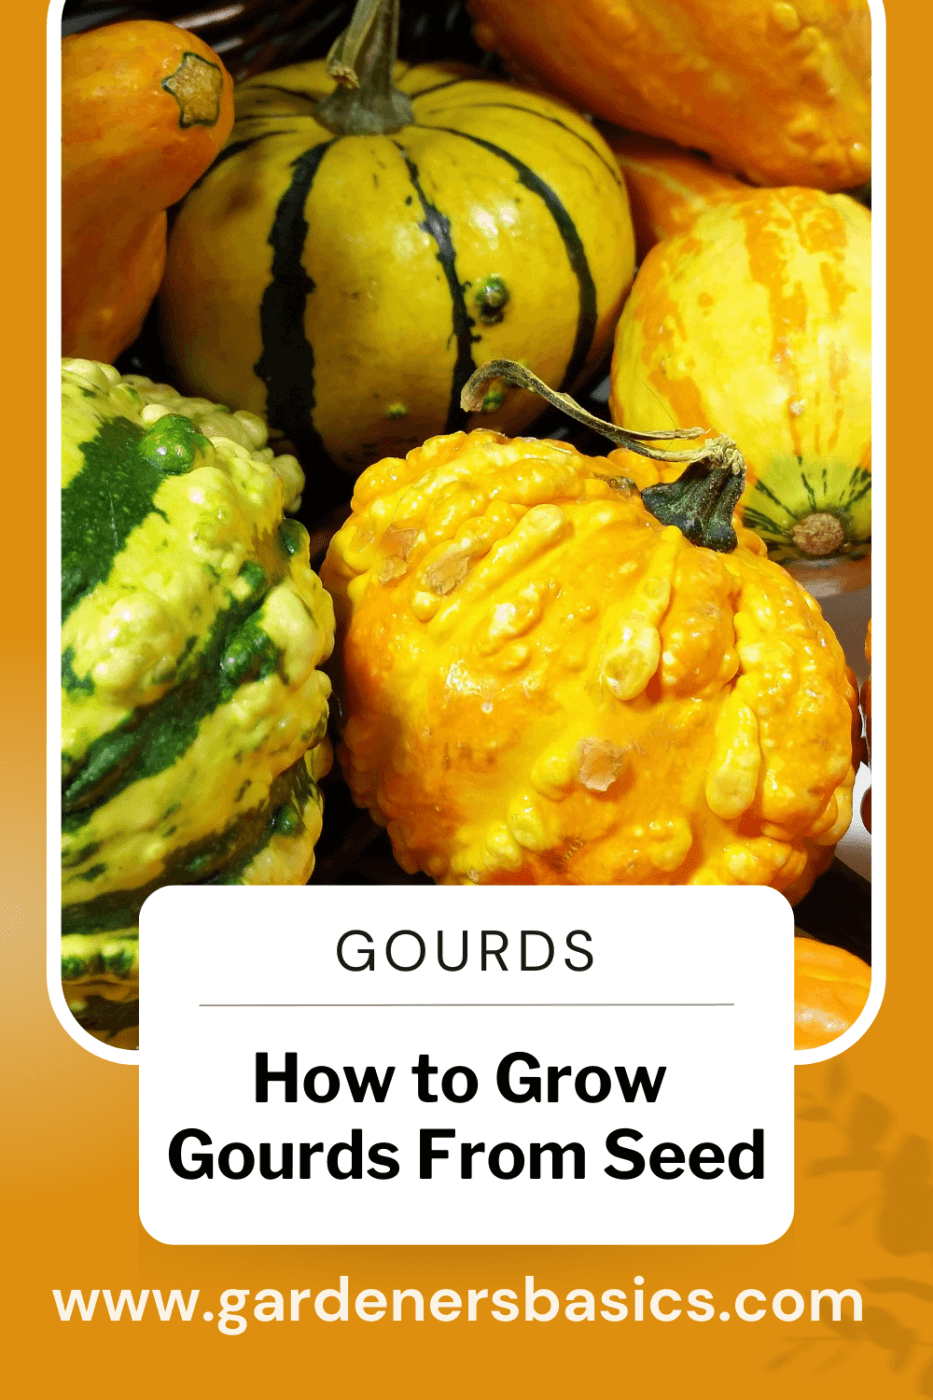
As a passionate gardener, I've always been fascinated by the versatility and beauty of gourds. They come in a myriad of shapes and sizes and can be used for both decorative and functional purposes. In this in-depth article, I'll walk you through the process of growing gourds from seed, covering everything from choosing the right heirloom seeds to harvesting your beautiful gourds. Let's get started learning how to grow gourds from seed!
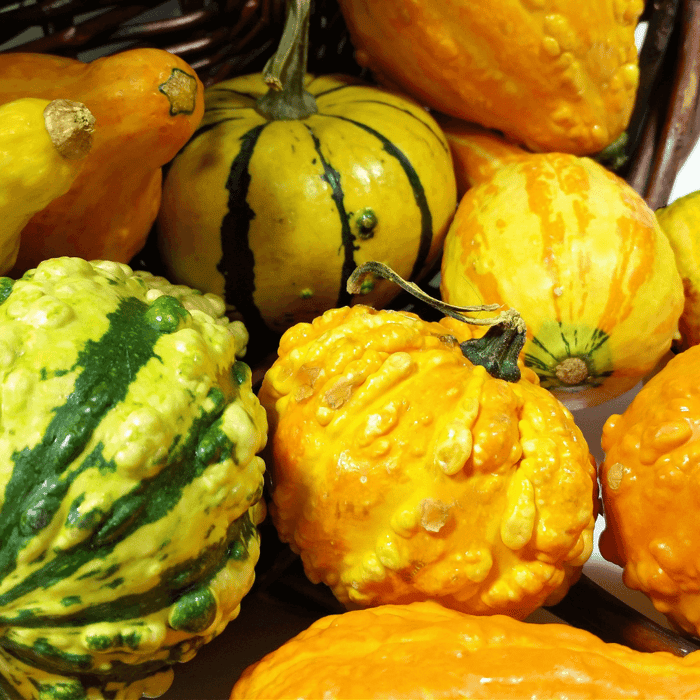
1. Choosing Gourd Varieties
There are many gourd varieties you can choose from, but some popular gourds include:
- Bottle gourd (lagenaria siceraria)
- Sponge gourd
- Ornamental gourds (such as shell gourds)
When selecting gourd seeds, consider the size and shape of the gourds you'd like to grow, as well as the intended purpose (decoration, crafting, or culinary use). Look for heirloom seeds from reputable sources, as these will yield the best results.
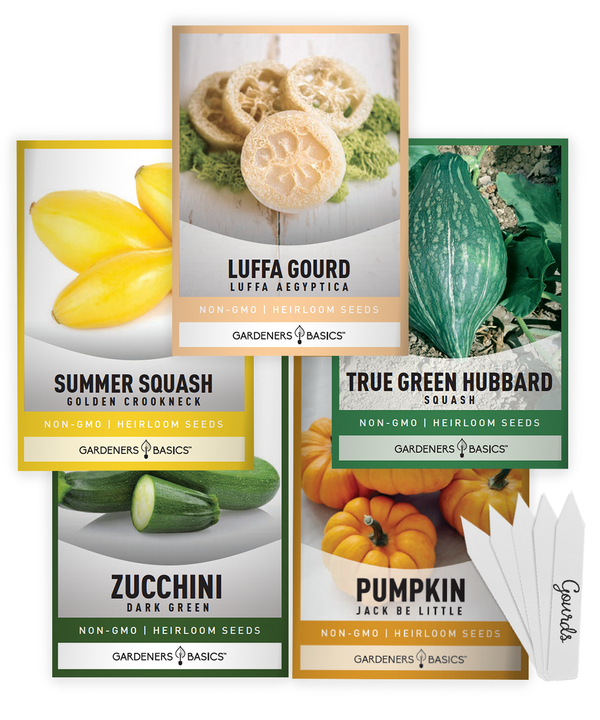
Gourd & Pumpkin Seeds | 5 Variety Pack
$9.95
5 Gourd & Pumpkin Seeds Variety Pack: Non-Hybrid, Heirloom, and Non-GMO Seeds Introducing our 5 Gourd & Pumpkin Seeds Variety Pack, an incredible selection of heirloom seeds perfect for gardeners looking to grow beautiful and unique gourds and pumpkins. These… read more
2. Understanding Gourd Plant Characteristics
Before you start planting, it's important to familiarize yourself with the characteristics of the gourd plant:
- Native: Gourds are native to various regions worldwide, but many varieties, like the bottle gourd (lagenaria siceraria), are originally from Africa.
- Family: Gourds belong to the Cucurbitaceae family, which also includes melons, cucumbers, and squash.
- History of the Seed: Gourds have a long history of cultivation, with evidence of their use dating back thousands of years.
- Days till maturity: Gourds can take anywhere from 75 to 180 days to reach maturity, depending on the variety.
- Planting depth: Plant gourd seeds about 1 inch deep.
- Plant spacing: Space gourd plants 2 to 4 feet apart, depending on the variety and growth habit.
- Days to germination: Gourd seeds typically germinate in 7 to 14 days.
- Start indoors or direct sown: Gourd seeds can be started indoors or direct sown, but starting indoors is recommended for shorter growing seasons.
- Full sun or partial shade: Gourds grow best in full sun.
- When to harvest: Harvest gourds when the stem dries and turns brown or when the gourd's surface becomes hard.
- Plant height: Gourd vines can grow up to 10-15 feet tall, depending on the variety.
- Plant width: Gourd vines can spread up to 8-12 feet wide.
3. Preparing the Soil for Your Gourd Garden
Gourds thrive in well-draining, fertile soil with a pH between 6.0 and 6.5. To prepare the soil for planting:
- Remove any weeds, rocks, or debris from the planting area.
- Amend the soil with compost or well-rotted manure to improve fertility and drainage.
- Test the soil pH and adjust as necessary using lime (to raise pH) or sulfur (to lower pH).
4. Starting Gourd Seeds Indoors
If you have a short growing season or want to get a head start on your gourd garden, start your seeds indoors about 4-6 weeks before the last frost. To start gourd seeds indoors:
- Fill seed trays or small pots with a seed-starting mix.
- Plant one gourd seed per cell or pot, about 1 inch deep.
- Keep the soil consistently moist but not soggy.
- Maintain a temperature of 70-85 degrees Fahrenheit to encourage germination.
- Place the seed trays or pots in a sunny location or under grow lights, ensuring they receive at least 6-8 hours of light per day.
- When seedlings have developed 2-3 true leaves and nighttime temperatures are consistently above 50 degrees Fahrenheit, begin hardening them off by gradually exposing them to outdoor conditions for 7-10 days.
5. Transplanting Gourd Seedlings Outdoors
After hardening off your gourd seedlings, it's time to transplant them to your prepared garden bed. To transplant gourd seedlings:
- Choose a sunny location with well-draining soil.
- Dig a hole for each seedling, spacing them 2-4 feet apart, depending on the variety.
- Carefully remove the seedling from its pot, trying not to disturb the root system.
- Place the seedling in the hole, ensuring the soil level remains the same as it was in the pot.
- Gently firm the soil around the seedling and water thoroughly.
6. Caring for Your Gourd Vines
To ensure a healthy and productive gourd garden, follow these care tips:
- Watering: Gourds require regular watering, especially during dry spells. Provide deep, consistent watering, allowing the soil to dry out slightly between waterings. Avoid light watering, as this can encourage shallow root growth.
- Mulching: Apply a layer of organic mulch around your gourd plants to help conserve moisture, suppress weeds, and regulate soil temperature.
- Fertilizing: Feed your gourd vines with a balanced, all-purpose fertilizer every 4-6 weeks throughout the growing season.
- Training: Train your gourd vines to grow on a trellis, fence, or other support structure to encourage air circulation, reduce disease, and make harvesting easier.
7. Managing Gourd Pests and Diseases
Gourds can be susceptible to several pests and diseases, including:
- Squash vine borers: These pests can cause gourd vines to wilt and eventually die. To prevent squash vine borers, cover young plants with floating row covers, and remove and destroy any infested plants.
- Cucumber beetles: These insects can transmit bacterial wilt, a disease that causes gourd vines to wilt and dies. Use floating row covers, yellow sticky traps, or insecticidal soap to manage cucumber beetles.
- Bacterial wilt: Prevent bacterial wilt by controlling cucumber beetles and practicing good garden hygiene, such as removing plant debris and rotating crops.
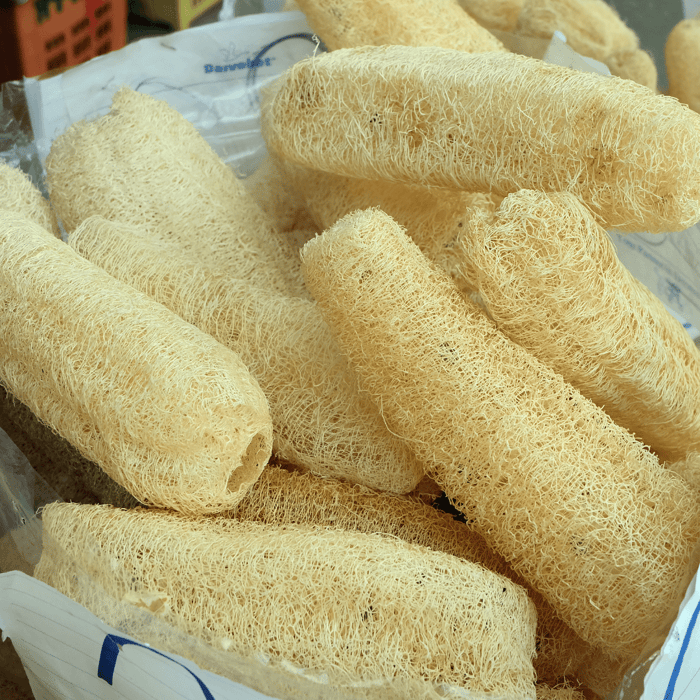
Luffa Gourd Seeds

$2.49
Luffa Gourd Seeds – Heirloom, Non-GMO, Non-Hybrid, Open-Pollinated Grow your own natural sponges and add a unique touch to your garden with our premium Luffa Gourd Seeds! Perfect for gardeners who love multifunctional plants, these heirloom seeds are non-GMO, non-hybrid,… read more
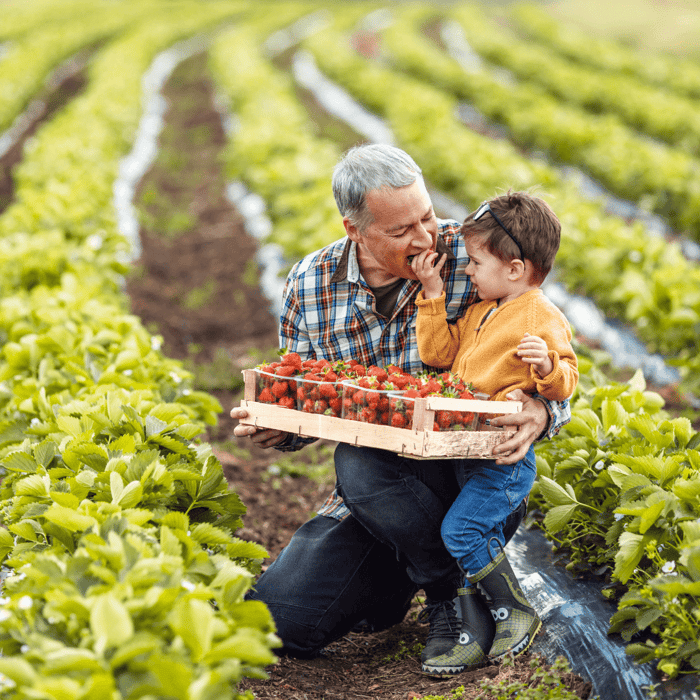
8. Harvesting and Curing Gourds
Once your gourds have reached maturity and the stems have dried, it's time to harvest them. To harvest gourds:
- Cut the stem about 1-2 inches above the gourd using pruning shears.
- Handle gourds gently to avoid bruising or damaging the skin.
After harvesting, gourds should be cured to ensure they last longer and maintain their quality. To cure gourds:
- Wipe the gourd surface with a diluted bleach solution to remove any dirt and prevent mold growth.
- Place the gourds in a well-ventilated area with a temperature between 70-80 degrees Fahrenheit for 1-2 weeks.
- Turn the gourds every few days to ensure even drying.
- After the initial drying period, move the gourds to a cool, dry location for an additional 2-6 months, depending on the gourd size and thickness.
Once your gourds are fully cured, you can use them for various decorative and functional purposes, such as birdhouses, containers, or simply as beautiful natural ornaments.
9. Saving Heirloom Seeds for Future Gourd Gardens
One of the benefits of growing heirloom gourd varieties is the ability to save seeds heirloom seeds for future planting. To save gourd seeds:
- Choose a fully mature and healthy gourd for seed saving.
- Cut the gourd open and scoop out the seeds.
- Rinse the seeds in a colander under running water to remove any pulp or debris.
- Spread the seeds out on a paper towel or screen and allow them to dry for 1-2 weeks in a well-ventilated area, away from direct sunlight.
- Once the seeds are completely dry, store them in a cool, dry place in a labeled envelope or container.
By saving heirloom seeds, you can continue to grow your favorite gourd varieties year after year and share them with fellow gardeners.
 10. Enjoying the Fruits of Your Labor: Creative Uses for Gourds
Once you've successfully grown and harvested your gourds, you can enjoy the fruits of your labor in numerous ways. Some popular uses for gourds include:
- Decorative displays: Arrange gourds in baskets, bowls, or on shelves for a touch of natural beauty in your home.
- Craft projects: Turn gourds into birdhouses, vases, bowls, or even musical instruments.
- Seasonal decorations: Use gourds to create unique fall and Halloween decorations.
- Culinary delights: Some gourd varieties, like the sponge gourd and bottle gourd, can be used in various recipes, such as stir-fries, soups, and curries.
Growing gourds from seed is a rewarding gardening experience that allows you to explore the diverse world of gourd shapes and sizes while adding beauty and functionality to your home and garden. With this comprehensive step-by-step guide, you're well on your way to enjoying a bountiful gourd harvest. Happy gardening!
Frequently Asked Questions - How to Grow Gourds From Seed
Q1: Can I grow different gourd varieties in the same garden?
A1: Yes, you can grow different gourd varieties in the same garden. However, if you plan to save seeds for future planting, be aware that different varieties may cross-pollinate, resulting in hybrid seeds with unpredictable characteristics.
Q2: How can I tell when my gourds are ready to harvest?
A2: Gourds are ready to harvest when the stem dries and turns brown or when the gourd's surface becomes hard. For some varieties, the color may also change or deepen when they're ready for harvest.
Q3: How long does it take for gourds to cure?
A3: The curing process for gourds can take anywhere from 3-8 months, depending on the gourd's size, thickness, and environmental conditions. Thicker, larger gourds typically take longer to cure.
Q4: Can I eat ornamental gourds?
A4: Ornamental gourds are generally not considered edible, as they tend to be bitter and unpalatable. However, some gourd varieties, like the sponge gourd and bottle gourd, are edible and can be used in various recipes.
Q5: What can I do to prevent pests and diseases in my gourd garden?
A5: To prevent pests and diseases in your gourd garden, practice good garden hygiene (such as removing plant debris and rotating crops), use floating row covers to protect young plants, and manage pests like cucumber beetles and squash vine borers with traps, barriers, or organic insecticides.
Q6: Do gourds need a support structure?
A6: While gourds can grow on the ground, training them to grow on a trellis, fence, or other support structure can improve air circulation, reduce disease, and make harvesting easier. It also allows for a better display of the gourds' unique shapes and sizes.
Q7: How often should I water my gourd plants?
A7: Gourd plants require regular watering, especially during dry spells. Provide deep, consistent watering, allowing the soil to dry out slightly between waterings. Avoid light watering, as this can encourage shallow root growth. The frequency of watering will depend on your climate and soil conditions.