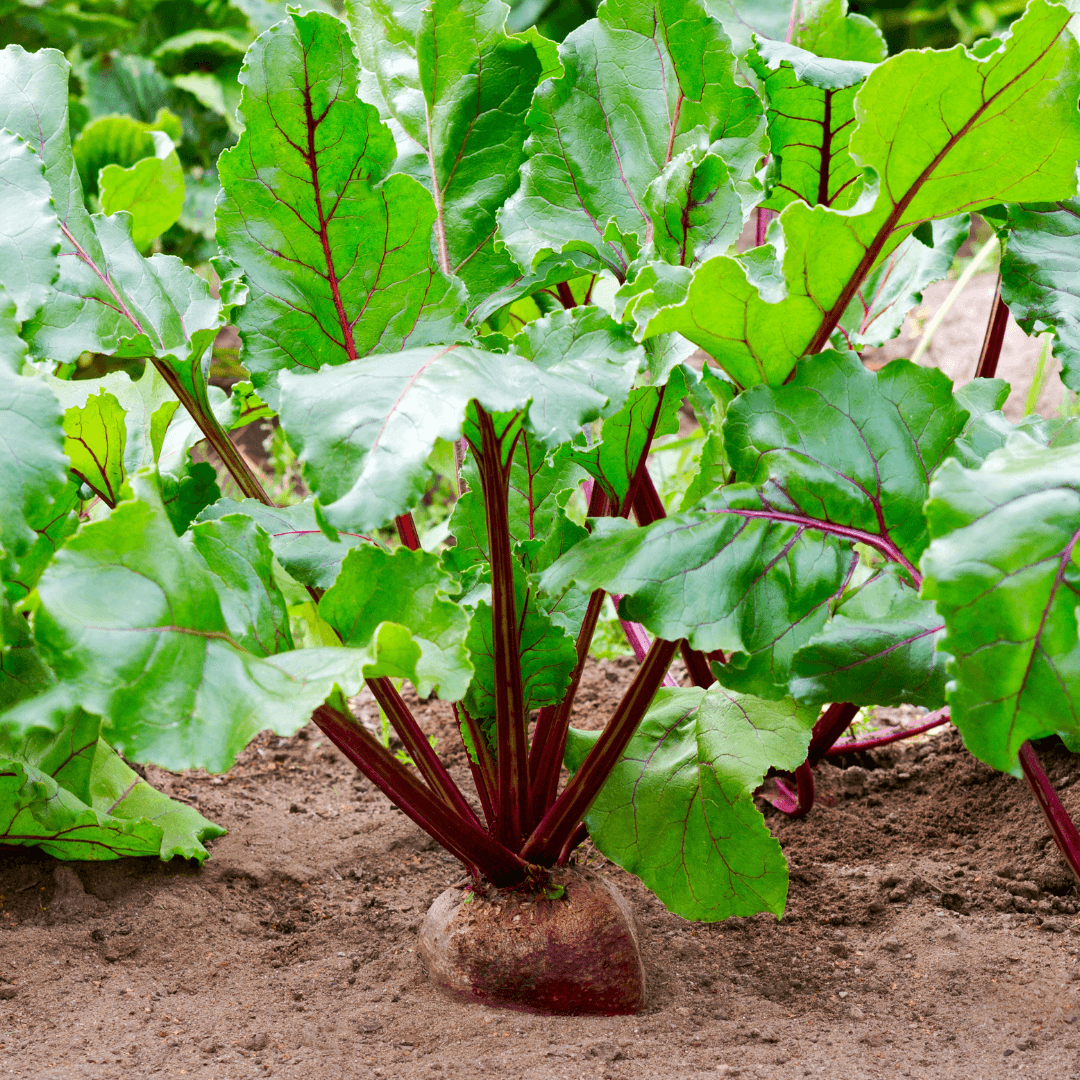

Microgreens are tiny edible plants that pack a nutritional punch and can be quickly grown indoors. Beet microgreens, in particular, are popular due to their beautiful red color and earthy flavor. Growing beet microgreens from beet seeds are fun but also easy and affordable. In this blog post, we will guide you on how to grow beet microgreens using seed starting, growing medium, grow light, and other essential tools.
How to Grow Beet Microgreens
First and foremost, you will need to gather all the necessary equipment to grow beet microgreens. You will need beet microgreens seed, potting mix, a spray bottle, a grow light, and a growing medium. You can purchase beet microgreens seeds from your local nursery or online. Ensure that the source is of high quality and preferably organic. Potting mix can be bought from any garden center or online. Ensure it is sterile, well-draining, and has no added fertilizers or pesticides.
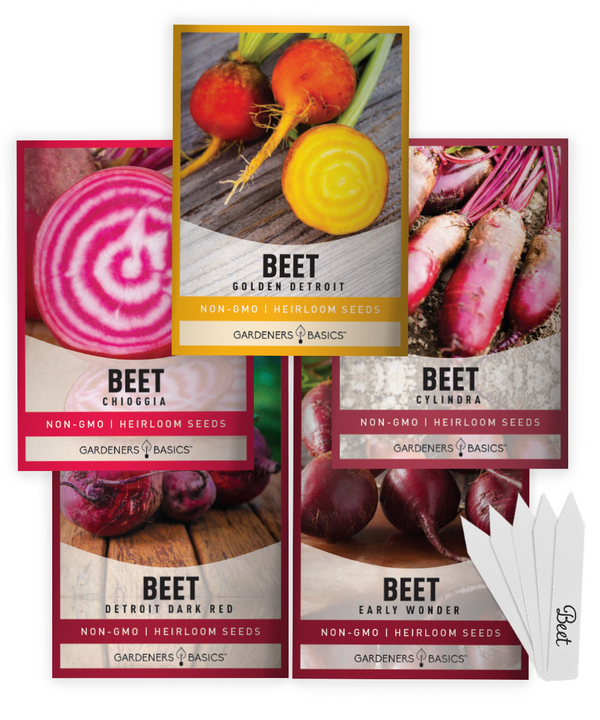
Beet Seeds For Planting | 5 Variety Pack
$9.95
Gardeners Basics' Beet Seeds for Planting is an excellent choice if you're looking to grow beets in your home garden. This 5 variety pack includes Detroit Dark Red, Golden Detroit, Early Wonder, Cylindria, and Chioggia beet seeds - all heirloom… read more
Seed starting is an essential step in growing beet microgreens. Before planting the seeds, soak them in water for 8-12 hours. This process will help to soften the seed coat and speed up germination. Once the seeds have soaked, drain the water and rinse them thoroughly. Spread the seeds evenly on top of the growing medium in a tray or container. You can use a trowel or your fingers to spread them out evenly. Cover the seeds with a thin layer of growing medium, approximately ¼ inch deep.
Water the seeds thoroughly using a spray bottle or watering can. Be careful not to overwater them, which can lead to mold growth. The seeds need to be kept moist but not soaked wet. Cover the tray with a lid or plastic wrap to create a humid environment. This will help the seeds germinate faster. Keep the tray in a warm, dark place for 3-5 days. This period is known as the blackout period.
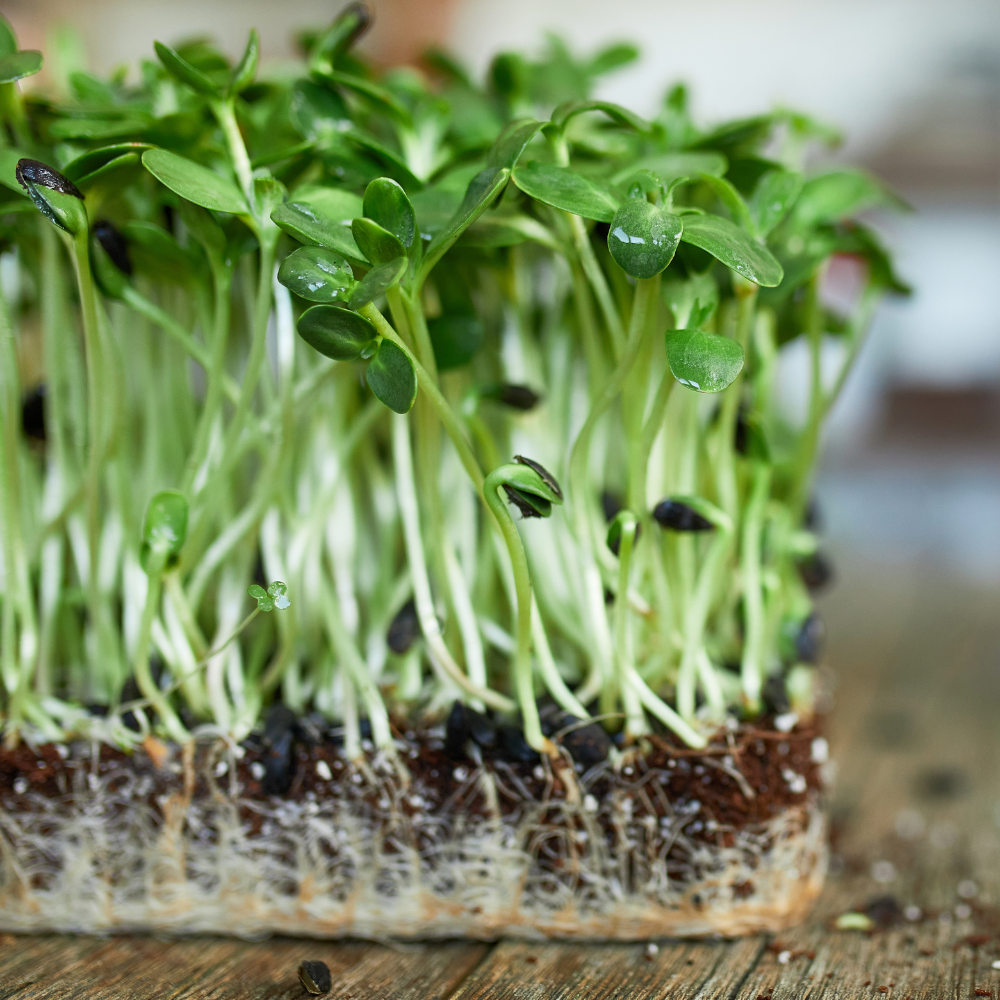
After the blackout period, remove the cover from the tray and place it under a grow light. The grow light should be kept approximately 2 inches above the seedlings. This will provide them with enough light to grow. The seedlings will develop their first true leaves in about 7-10 days. True leaves are the second set of leaves that appear after the cotyledons, which are the first set of leaves.
At this stage, the seedlings are ready for their first watering with a weak fertilizer solution. Use a diluted solution of a balanced fertilizer suitable for microgreen growing. Follow the manufacturer's instructions for dilution and application. Water the seedlings from the bottom of the tray by placing them in a shallow water dish. This will prevent the foliage from getting wet and reduce the risk of mold growth.
Continue to water the seedlings regularly, keeping the growing medium moist but not soaking wet. Use a spray bottle to mist the seedlings several times a day. This will increase humidity and provide moisture to the foliage. The seedlings will proliferate and develop their second set of true leaves in approximately 14-21 days.
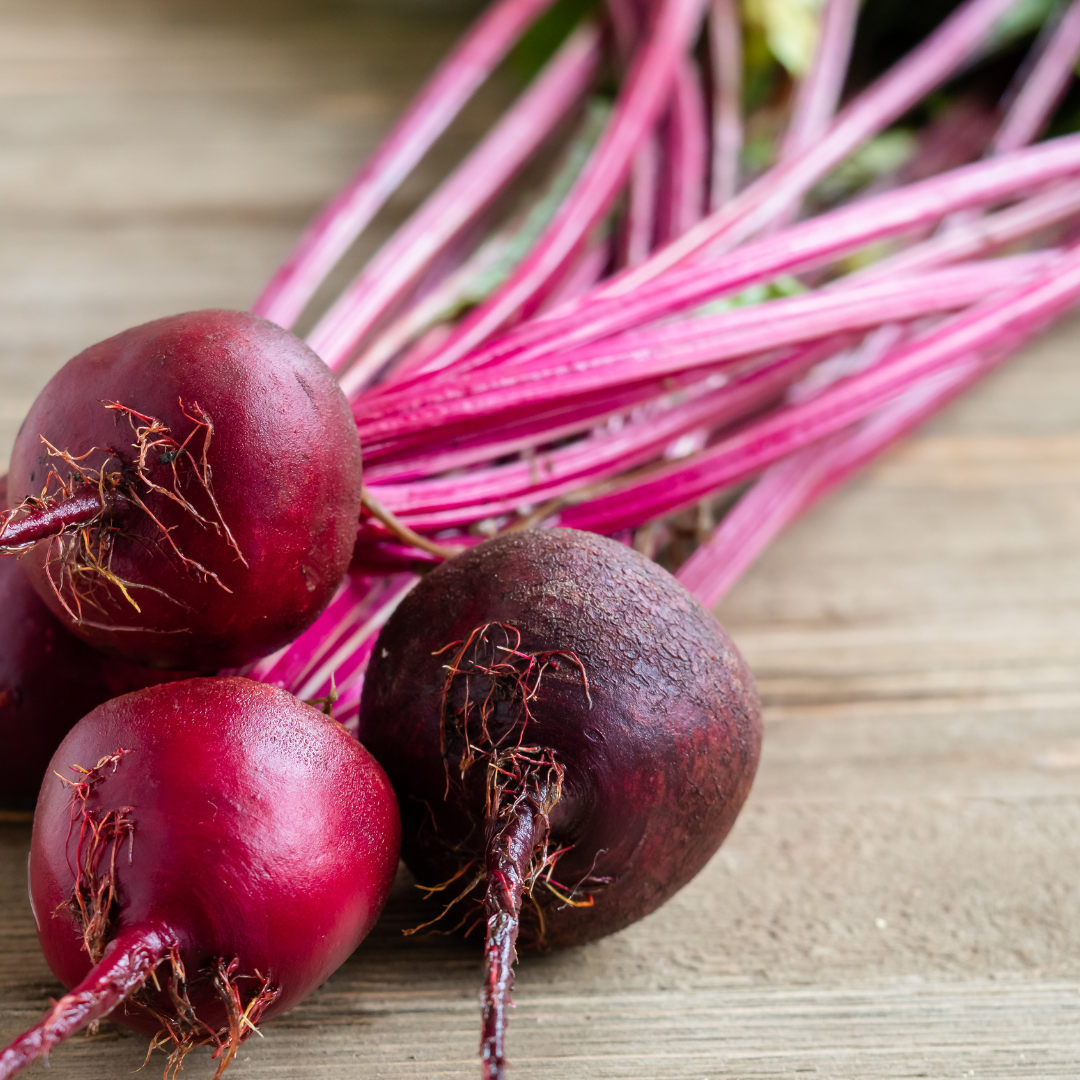
When the beet microgreens are ready to harvest, they will be approximately 2-3 inches tall and have developed their third set of true leaves. The time to harvest beet microgreens varies depending on the growing conditions and the variety of beet microgreens you are growing. Bull blood is a wide variety of beet microgreens due to its striking red color and earthy flavor. It is ready to harvest in approximately 21 days.
Detroit Dark Red Beet Seeds

$2.49
Heirloom Detroit Dark Red Beet Seed Packets For Planting In Your Home Garden Detroit Dark Red Beets are a popular variety among gardeners. They are easy to grow and very delicious! You can eat them fresh, roasted, or juiced. Both… read more
To harvest beet microgreens, use clean scissors to cut the stems just above the soil level. Be careful not to damage the roots or other seedlings. Collect the harvested beet microgreens in a bowl or container. Rinse them thoroughly with water to remove any growing medium or debris. Pat them dry with a clean towel or paper towel. The harvested beet microgreens can be stored in an airtight container in the refrigerator for up to 7 days.
Before you start growing beet microgreens, you must know that they require a blackout period, produce light, and have a humid environment to grow. The blackout period refers to the first few days after planting when the seeds need to be kept in the dark to promote germination. Once the seedlings have germinated and developed their first set of true leaves, they need to be placed under a grow light to provide them with enough light to grow.
A humid environment is also essential for the growth of beet microgreens. This can be achieved by covering the tray with a lid or plastic wrap during the blackout period and misting the seedlings with water several times daily. This will increase humidity and provide moisture to the foliage, essential for their growth.
The growing medium is also an essential factor in the growth of beet microgreens. An excellent growing medium should be well-draining, sterile, and have no added fertilizers or pesticides. You can use a commercial growing medium or make your own by mixing equal parts of peat moss, vermiculite, and perlite.
In conclusion, growing beet microgreens is easy and fun. You can increase your nutritious and delicious beet microgreens at home following these simple steps. Remember to soak the beet microgreens seed before planting, provide a humid environment, and use a grow light to provide enough light for their growth. Harvest the beet microgreens when they have developed their third set of true leaves, and enjoy their striking red color and an earthy flavor in salads, sandwiches, and smoothies.